Would you like to learn how to configure Zabbix sound alert feature? In this tutorial, we are going to show you how to configure sound alerts to help you easily identify incident or changes in your network environment.
Hardware List:
The following section presents the list of equipment used to create this Zabbix tutorial.
Every piece of hardware listed above can be found at Amazon website.
Zabbix Playlist:
On this page, we offer quick access to a list of videos related to Zabbix installation.
Don't forget to subscribe to our youtube channel named FKIT.
Zabbix Related Tutorial:
On this page, we offer quick access to a list of tutorials related to Zabbix installation.
Tutorial - Zabbix Sound Alert Configuration
Open your browser and enter the IP address of your web server plus /zabbix.
In our example, the following URL was entered in the Browser:
• http://35.162.85.57/zabbix
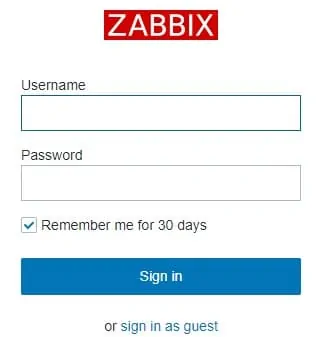
On the login screen, use the default username and default password.
• Default Username: Admin
• Default Password: zabbix

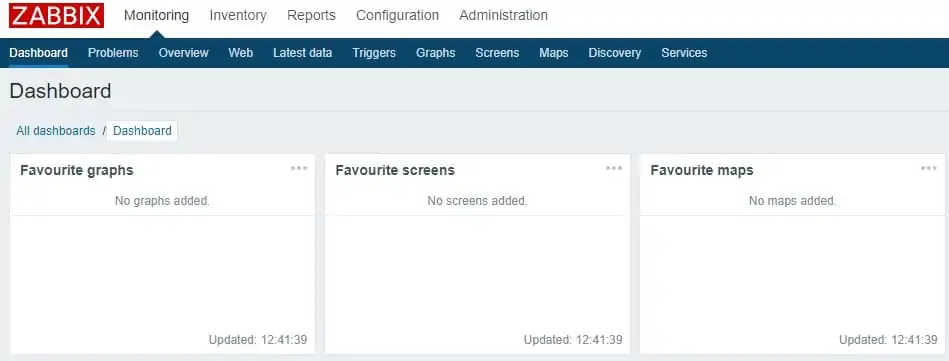
After a successful login, you will be sent to the Zabbix Dashboard.

On the top right part of the screen, access the user profile settings.
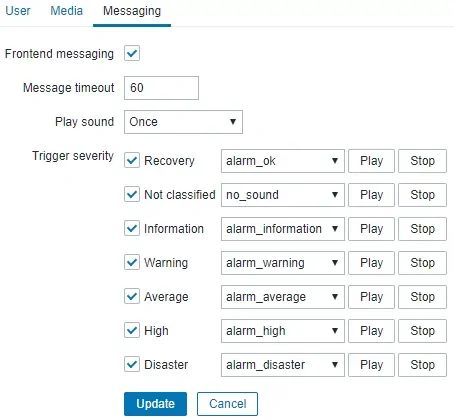
On the user profile screen, access the Messaging tab and configure the following options:
• Front End messaging: Yes
• Message Timeout: 60
• Play sound: Once
Select the desired sound effect to each trigger severity and click on the Update Button.

To use custom sounds, you need to generate 8 BIT MONO WAV files.
Save the 8 BIT MONO WAV files inside the following folder:
• /var/www/html/zabbix/audio/
The audio folder is available on the Zabbix server.
Keep in mind that a sound alert configuration is specific to each user.
Congratulations! You have configured the Zabbix Sound Alert feature.
