Would you like to learn how to configure the iDRAC interface using only a USB cable? In this tutorial, we are going to show you how to connect your computer to the iDrac interface using only a USB cable to perform the desired configuration.
Copyright © 2018-2021 by Techexpert.tips.
All rights reserved. No part of this publication may be reproduced, distributed, or transmitted in any form or by any means without the prior written permission of the publisher.
Equipment list
Here you can find the list of equipment used to create this tutorial.
This link will also show the software list used to create this tutorial.
Dell iDRAC Playlist:
On this page, we offer quick access to a list of videos related to Dell iDRAC.
Don't forget to subscribe to our youtube channel named FKIT.
Dell iDRAC Related Tutorial:
On this page, we offer quick access to a list of tutorials related to Dell iDRAC.
Dell iDRAC Related Tutorial:
On this page, we offer quick access to a list of tutorials related to Dell iDRAC.
Tutorial iDrac - Access using the USB interface
If you are using an older version of Windows, you will have to install the RNDIS driver.
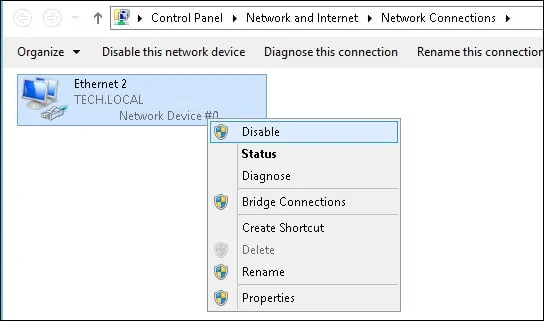
Disable all network interfaces, wired or wireless, from your computer running Windows.

Connect your desktop's USB interface to the iDrac USB interface.
Wait the system to finish the required driver installation.
After a while, your computer USB interface will get the IP address 169.254.0.4.
The iDrac interface will use the IP address 169.254.0.3.
Open a browser software, enter the IP address of your iDRAC interface and access the web interface.
In our example, the following URL was entered in the Browser:
• https://169.254.0.3

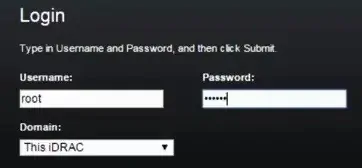
On the prompt screen, enter the administrative login information.
Factory default access information:
• Username: root
• Password: calvin
After a successful login, the administrative menu will be displayed.
Congratulations! You can access the iDrac web interface using a USB cable.
