Would you like to learn how to configure the identification banner on the IIS server? In this tutorial, we are going to show you how to install the URL Rewrite module on the IIS server and create a rule to change the IIS server identification header on a computer running Windows.
• Windows 2012 R2
• Windows 2016
• Windows 2019
Equipment list
Here you can find the list of equipment used to create this tutorial.
This link will also show the software list used to create this tutorial.
Windows Tutorial:
On this page, we offer quick access to a list of Windows tutorials.
Tutorial IIS - Change the server identification header
Use the inspection feature of a browser to verify the IIS header.
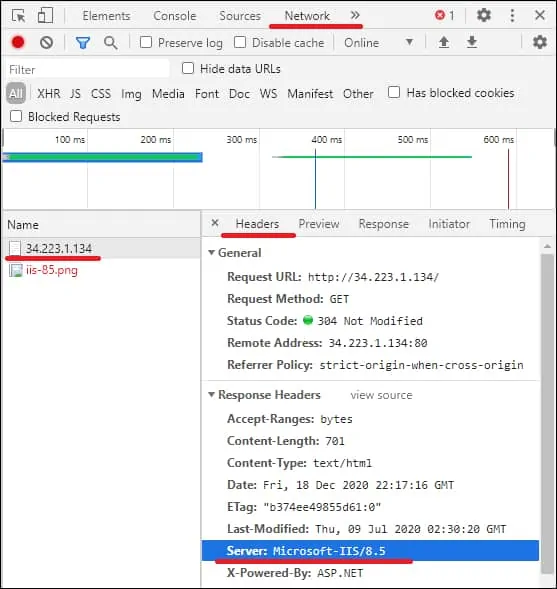
Here is the IIS server header.
Access the URL REWRITE website and download the installation package.

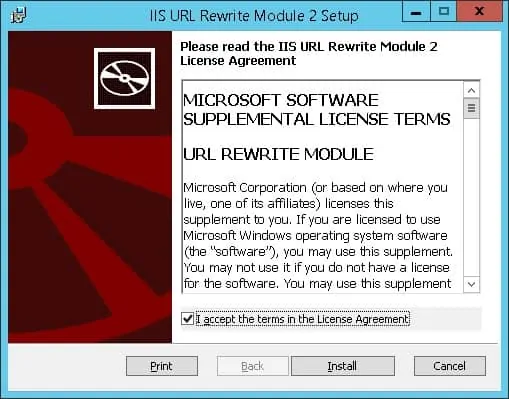
Perform the URL REWRITE installation.
Start the application named: IIS Manager.

On the IIS Manager application, select your website.
On the right part of the screen, access the option named: URL Rewrite.

On the top right part of the screen, click on the Add Rule option.

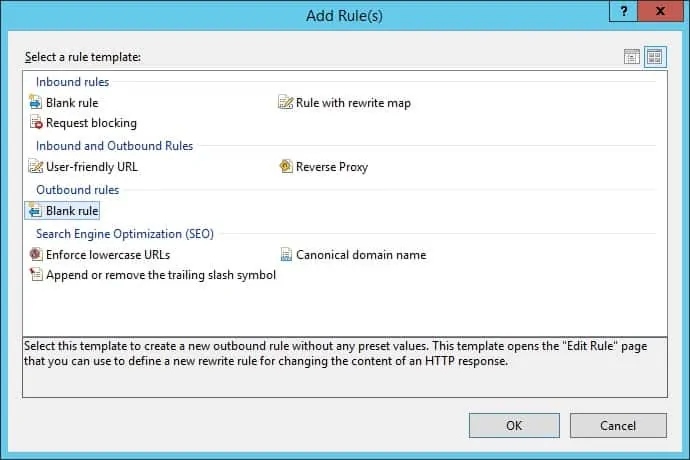
On the Outbound rules, create a new Blank rule.
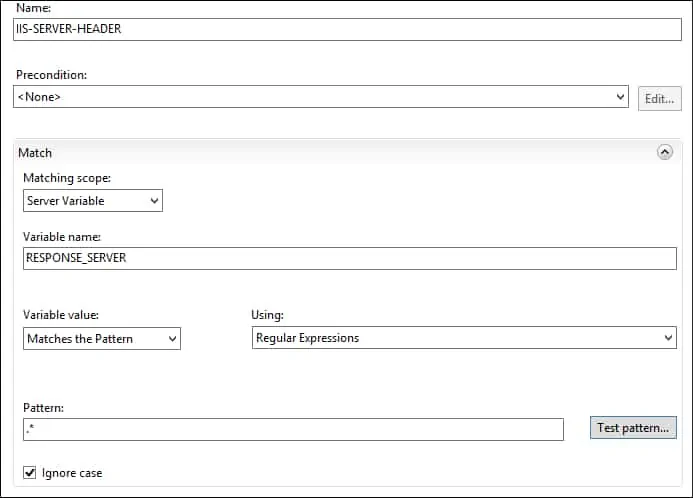
To rewrite the value of the Server identification header, use the following configuration:
• Name - Enter a name to the new rule.
• Matching scope - Server variable
• Variable name - RESPONSE_SERVER
• Variable value - Match the pattern
• Using - Regular Expressions.
• Pattern - .*
• Ignore case - Yes.
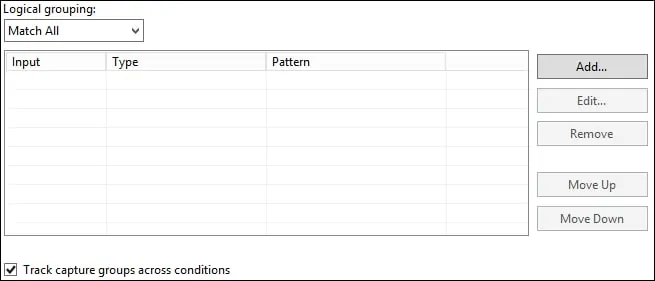
On the Conditions area, keep the default configuration.
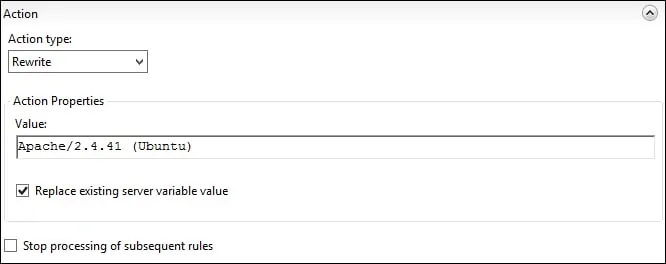
On the Action area, change the IIS server identification header value.
• Action type - REWRITE.
• Value - Enter the new IIS server identification header
• Replace existing server variable value - Yes
On the top-right part of the screen, click on the Apply option
Use the inspection feature of a browser to verify the IIS header.
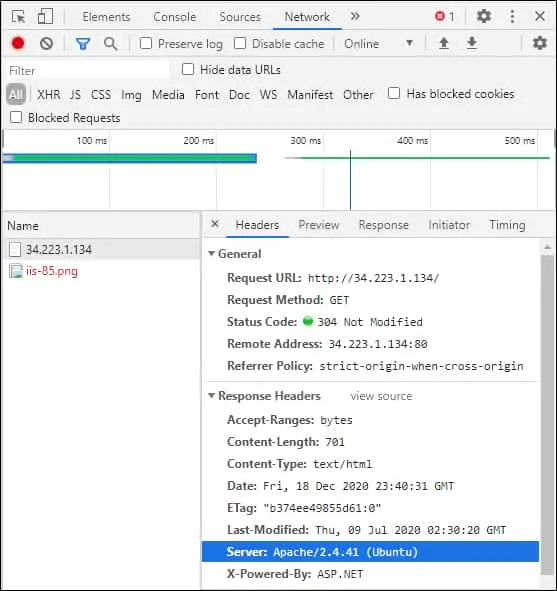
Here is the IIS server header.
In our example, we configured the IIS server identification header as an Apache server installed on Ubuntu Linux.
Optionally, you may leave the identification header empty.
Congratulations! You have finished the IIS header configuration.
