Would you like to learn how to disable the Windows Firewall using Powershell? In this tutorial, we are going to show you how to use Powershell to disable the Firewall on a computer running Windows.
• Windows 2012 R2
• Windows 2016
• Windows 2019
• Windows 2022
• Windows 10
• Windows 11
Equipment list
Here you can find the list of equipment used to create this tutorial.
This link will also show the software list used to create this tutorial.
Related tutorial - PowerShell
On this page, we offer quick access to a list of tutorials related to PowerShell.
Tutorial Powershell - Disable the Windows Firewall
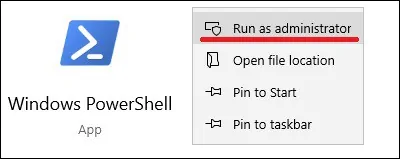
As an Administrator, start a Powershell command-line.

Disable the Firewall using Powershell.
Verify the status of the Firewall.
Here is the command output.
A computer running Windows has 3 Firewall profiles.
• PUBLIC - This is the default profile. It is used to designate public networks.
• DOMAIN - Applies to networks where the computer authenticates to a domain controller.
• PRIVATE - Applies to home networks and private networks assigned by the user.
Disable a specific Firewall profile.
List the configuration of a Firewall profile.
Here is the command output.
List the rules of a Firewall profile.
List only the active Firewall rules.
Filter the Firewall rules to fit your needs.
Disable a Firewall rule.
Congratulations! You are able to disable the Firewall of Windows using Powershell.
