Would you like to learn how to perform the WordPress Outbound Proxy Configuration? In this tutorial, we are going to configure a WordPress server behind a proxy to access the internet and download the WordPress packages and plugins.
• Ubuntu 18.04
• Ubuntu 19.04
• WordPress 5.3.2
WordPress Tutorial:
On this page, we offer quick access to a list of WordPress tutorials.
Tutorial - WordPress Outbound Proxy Configuration
Locate the WordPress configuration file named wp-config.php
In our example, the wp-config.php file was located inside the /var/www/html/wordpress directory.
Edit the WordPress wp-config.php.
If your proxy requires authentication, insert the following proxy configuration at the end of this file:
In our example, we set the proxy server 192.168.10.1 using the 3128 port.
In our example, we authenticate the proxy access using the username bruno and the password kamisama123.
If your proxy dows not require authentication, insert the following proxy configuration at the end of this file:
In our example, we set the proxy server 192.168.10.1 using the 3128 port.
WordPress - Proxy Configuration
Open your browser and enter the IP address of your WordPress server /wp-admin
In our example, the following URL was entered in the Browser:
• http://192.168.0.10/wordpress/wp-admin
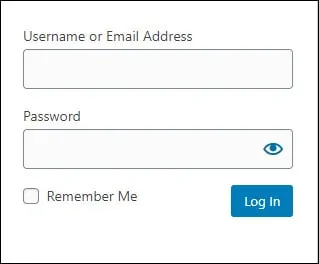
The WordPress web interface should be presented.

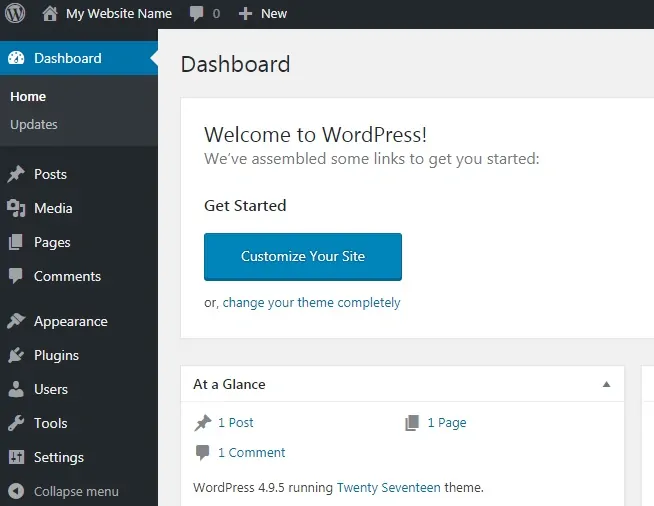
After a successful login, the WordPress dashboard will be displayed.

After a successful login, the WordPress dashboard will be displayed.
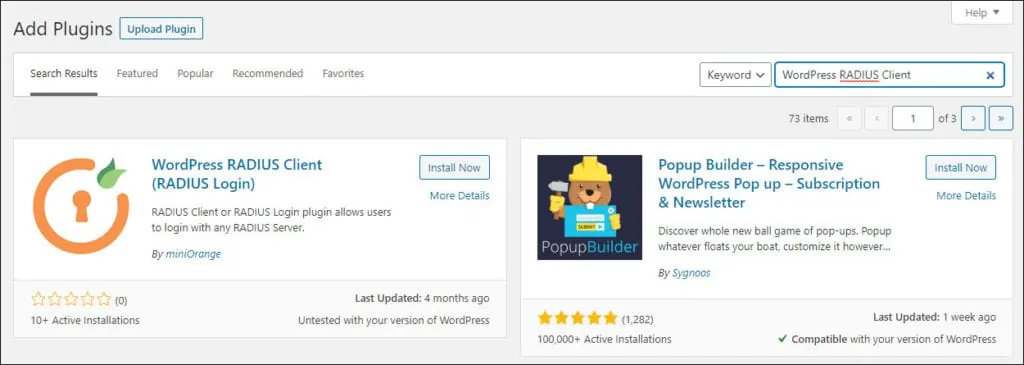
Access the Plugins menu and click on the Add new option.

As a test, try to search or install a new WordPress plugin.

Congratulations! You configured the WordPress server to work behing a proxy server.
