Would you like to learn how to enable SNMP on an HP switch? In this tutorial, we are going to show you all the steps required to configure the SNMP using an HP Switch 1910, 1920 or 5500 using the web interface.
Copyright © 2018-2021 by Techexpert.tips.
All rights reserved. No part of this publication may be reproduced, distributed, or transmitted in any form or by any means without the prior written permission of the publisher.
Equipment list
Here you can find the list of equipment used to create this tutorial.
This link will also show the software list used to create this tutorial.
HP Switch Playlist:
On this page, we offer quick access to a list of videos related to HP Switch.
Don't forget to subscribe to our youtube channel named FKIT.
HP Switch Related Tutorial:
On this page, we offer quick access to a list of tutorials related to HP Switch.
Tutorial HP Switch - SNMP configuration
Open a browser software, enter the IP address of your Switch and access the HP Switch web interface.

On the prompt screen, enter the administrative login information.
Factory default access information:
• Username: admin
• Password: (no password)
After a successful login, the administrative menu will be displayed.
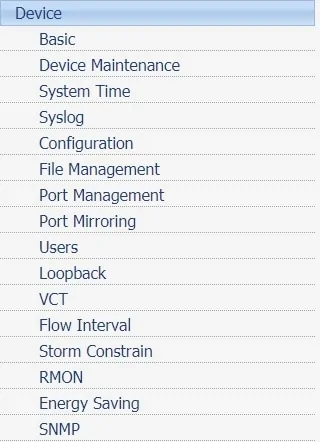
Access the Device menu, and select the SNMP option.

On the SNMP configuration screen, you will have to access the Setup tab.
Access the Setup tab and perform the following configuration:
• SNMP - Enable
• Contact
• Location
• SNMP Version
Click on the Apply button to start the Firmware upgrade.

Access the Community tab, click on the Add button and perform the following configuration:
• Community Name
• Access Right: Read-only
Click on the Apply button.

Don't forget to save your switch configuration.
You have successfully enabled the HP Switch SNMP service.
You have successfully configured the HP Switch SNMP service.
To test your HP Switch SNMP configuration, use the following commands on a computer running Ubuntu Linux.
You have finished the configuration.
