Would you like to learn how to install IIS and enable the Perl CGI feature on a computer running Windows? In this tutorial, we are going to show you how to enable the Perl CGI feature on the IIS server.
• Windows 2012 R2
• Windows 2016
• Windows 2019
• IIS
• Perl
Windows Tutorial:
On this page, we offer quick access to a list of Windows tutorials.
Tutorial Windows - IIS Installation
Open the Server Manager application.
Access the Manage menu and click on Add roles and features.

On the Server Roles screen, select the option named: Web Server IIS.
Click on the Next button.
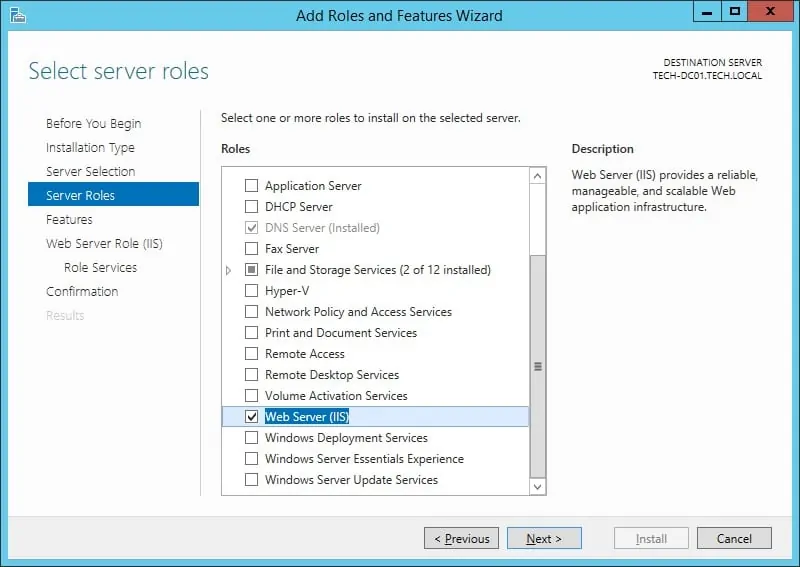
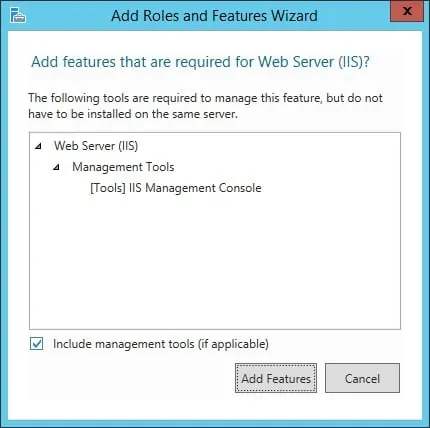
On the following screen, click on the Add features button.
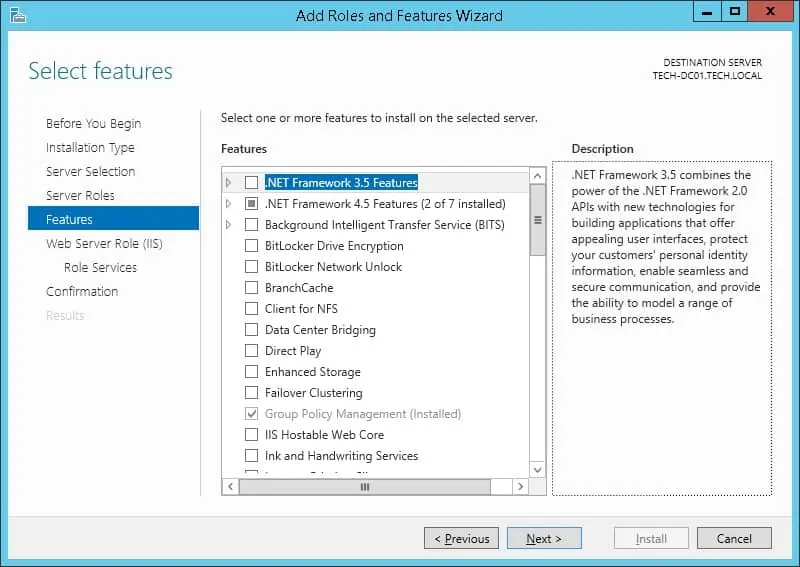
On the Features screen, click on the Next button.
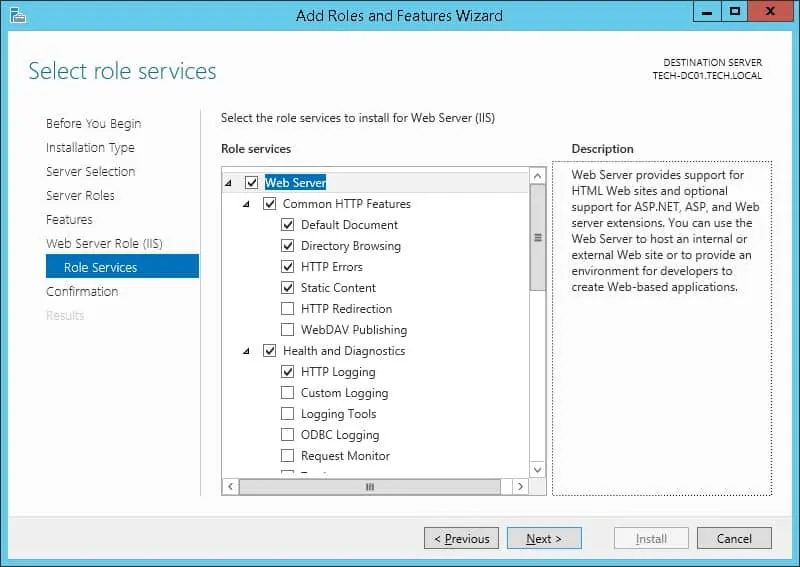
On the Role service screen, click on the Next button.
On the Summary screen, click on the Install button.
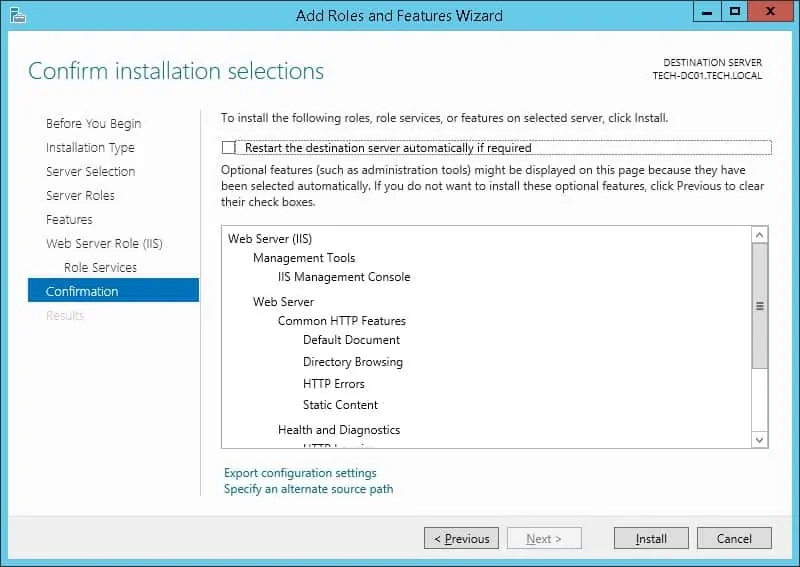
Congratulations! You have finished the IIS service installation on a computer running Windows.
Tutorial IIS - Enabling the CGI feature
Open the Server Manager application.
Access the Manage menu and click on Add roles and features.

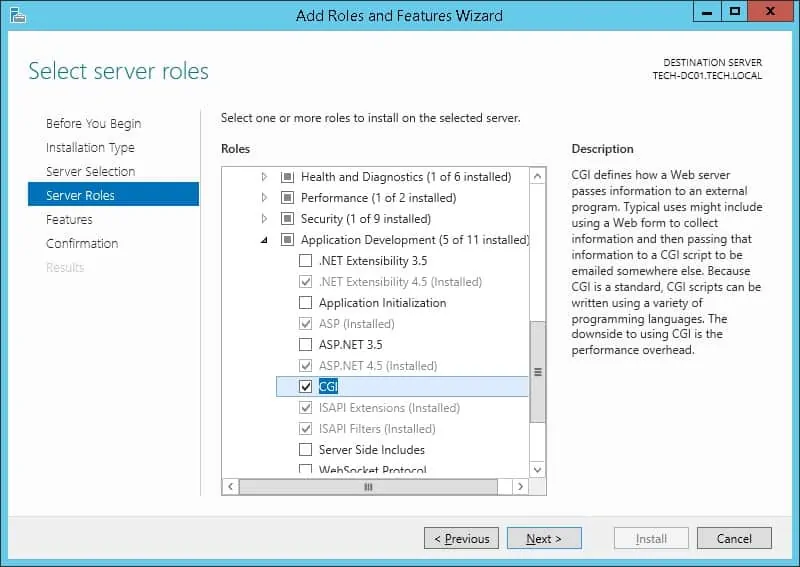
On the Server Roles screen, expand the entry named: Web Server IIS.
Access the Application development menu and select the option named: CGI
Click on the Next button.
On the Features screen, click on the Next button.

On the Summary screen, click on the Install button.
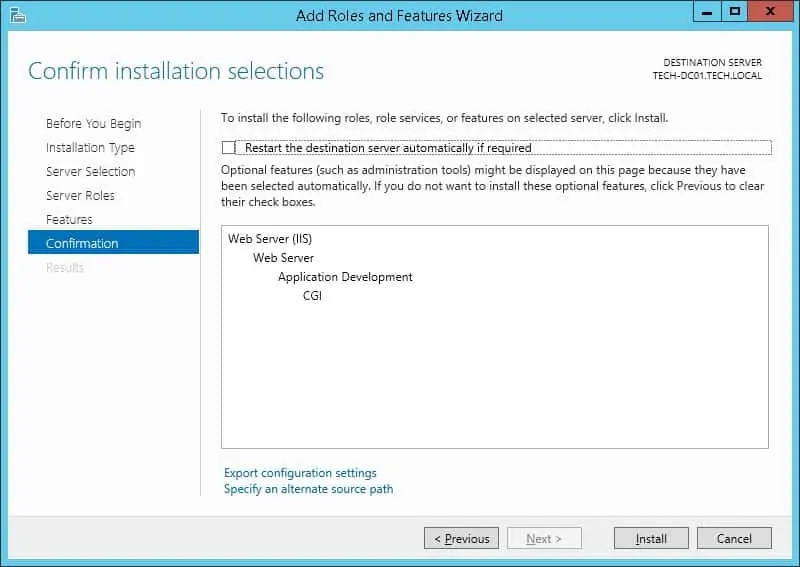
Congratulations! You have finished the CGI feature installation on IIS.
Tutorial Windows - Perl Installation
Access the Perl website and download the latest version of the Perl installer.
In our example, we downloaded the file named: STRAWBERRY-PERL-5.30.2.1-64bit.msi

As the administrator, start the Perl installation.
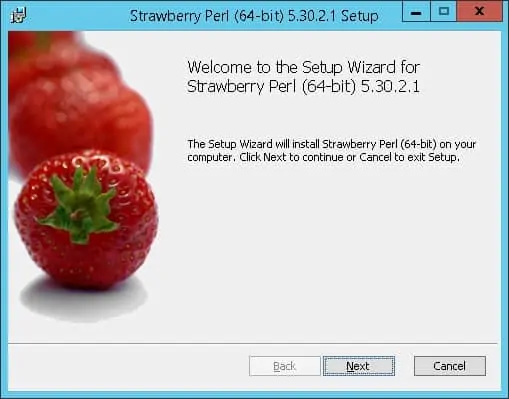
Accept the license agreement and click on the Next button.
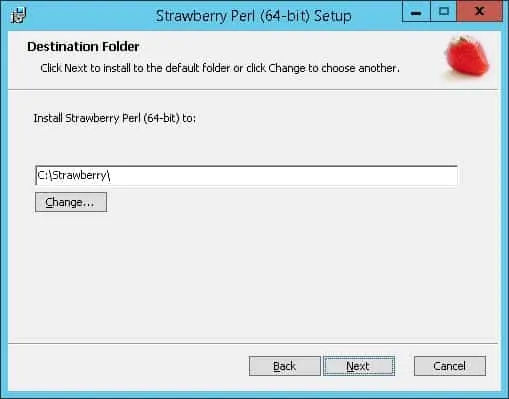
Set the desired installation path and click on the Next button.
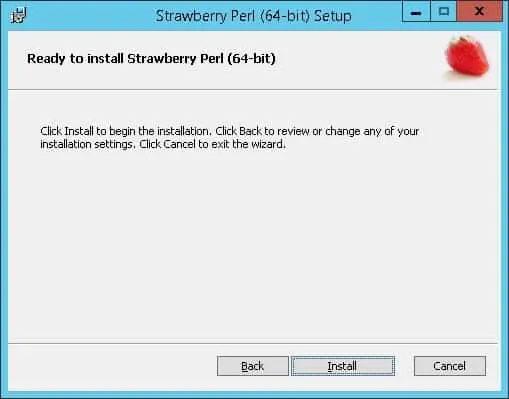
Click on the Install button.
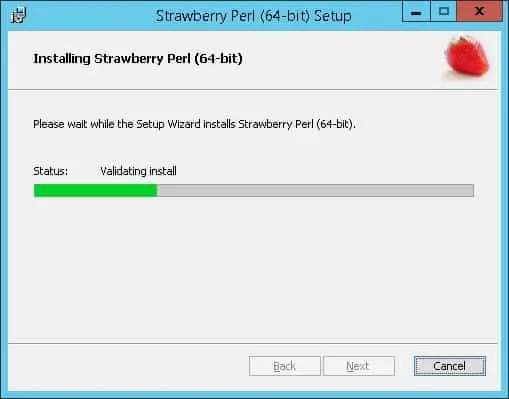
Wait for the Perl installation to finish.
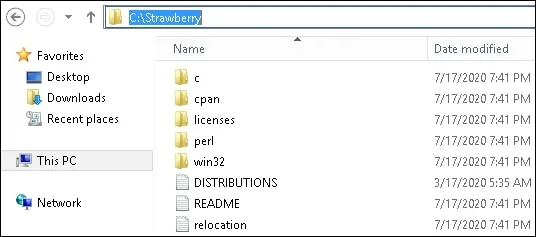
In our example, Perl was installed on the following directory.
Reboot the computer.
Congratulations! You have finished the Perl installation on Windows.
Tutorial IIS - Enable Perl on the IIS server
Start the application named: IIS Manager.

On the IIS Manager application, select your IIS server name.
On the right part of the screen, access the option named: Handler Mappings

Select the option named: Add Script Map

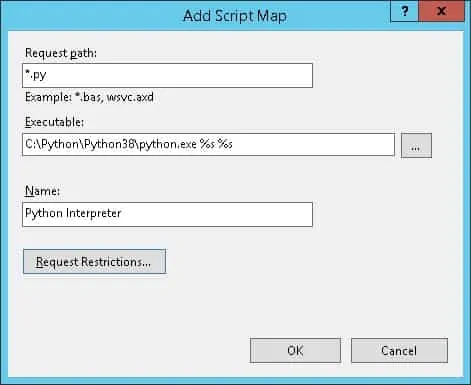
Perform the following configuration:
• Request Path - *.pl
• Executable - C:\Strawberry\perl\bin\perl.exe %s %s
• Interpreter - Perl CGI
Click on the OK button.
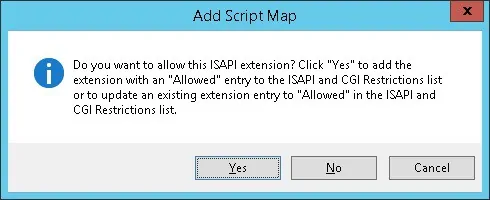
If the following message is presented, click on the Yes button.
Restart the IIS service.
Congratulations! You successfully enabled Python on the IIS server.
Tutorial IIS - Creating a Python page
Start a new DOS command-line prompt.

Access the IIS root directory.
Create a Perl test page.
Use the Notepad application to open the test page.
Replace its content with the following code.
Open your browser and enter the IP address of your web server plus /test.pl.
In our example, the following URL was entered in the Browser:
• http://172.31.8.195/test.pl
The Perl page should display the following message.

Congratulations! The Perl extension was installed successfully on IIS.
