Would you like to learn how to install the Windows Subsystem for Linux using Powershell? In this tutorial, we are going to show you how to install a Linux subsystem on a computer running Windows.
• Windows 10
Equipment list
The following section presents the list of equipment used to create this tutorial.
As an Amazon Associate, I earn from qualifying purchases.
Related tutorial - PowerShell
On this page, we offer quick access to a list of tutorials related to PowerShell.
Tutorial Powershell - Installing the Windows Subsystem for Linux
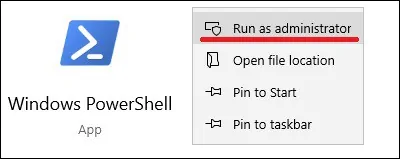
As an Administrator, start an elevated Powershell command-line.

Install Hyper-V.
Restart the computer.
Install the feature named Microsoft-Windows-Subsystem-Linux.
Restart the computer.
Install the feature named VirtualMachinePlatform.
Here is the command output.
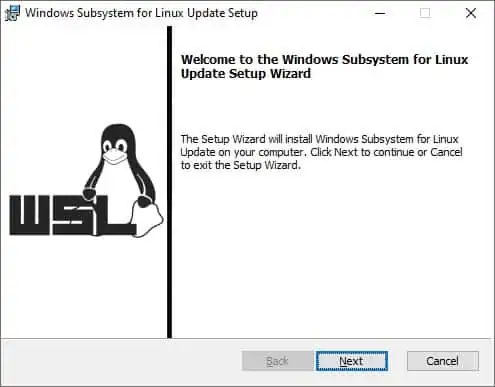
Download and install the WSL2 kernel package.

Configure the default WSL version.
Download and install Ubuntu Linux for WSL from the Microsoft Store.

In our example, we installed the Ubuntu Linux for WSL.
Start the Ubuntu application.

Create a user account on the Linux terminal.
From a command line, use the UBUNTU command to access the Linux shell.
Congratulations! You have finished the installation of the Windows Subsystem for Linux using Powershell.
Tutorial WSL - Management
As an Administrator, start an elevated Powershell command-line.

List all WSL distros installed.
Here is the command output.
List the status of all WSL distros.
Here is the command output.
Stop all WSL distros.
Here is the command output.
Start the WSL distro named Ubuntu.
Congratulations! You are able to manage a WSL distribution.
