Would you like to learn how to configure Vmware ESXi IP address using the Web interface? In this tutorial, we are going to show you all the steps required to change the IP address of a Vmware ESXi server.
This tutorial was tested on Vmware ESXi 6.5
This tutorial was tested on Vmware ESXi 6.7
Vmware ESXi Playlist:
On this page, we offer quick access to a list of videos related to Vmware ESXi.
Don't forget to subscribe to our youtube channel named FKIT.
VMware ESXi Related Tutorial:
On this page, we offer quick access to a list of tutorials related to Vmware Esxi.
Tutorial - Vmware ESXi IP Address Configuration
First, you need to access the Vmware web interface.
Open a browser software, enter the IP address of your Vmware ESXi server and access web interface.

On the prompt screen, enter the administrative login information.
After a successful login, the Vmware dashboard will be displayed.
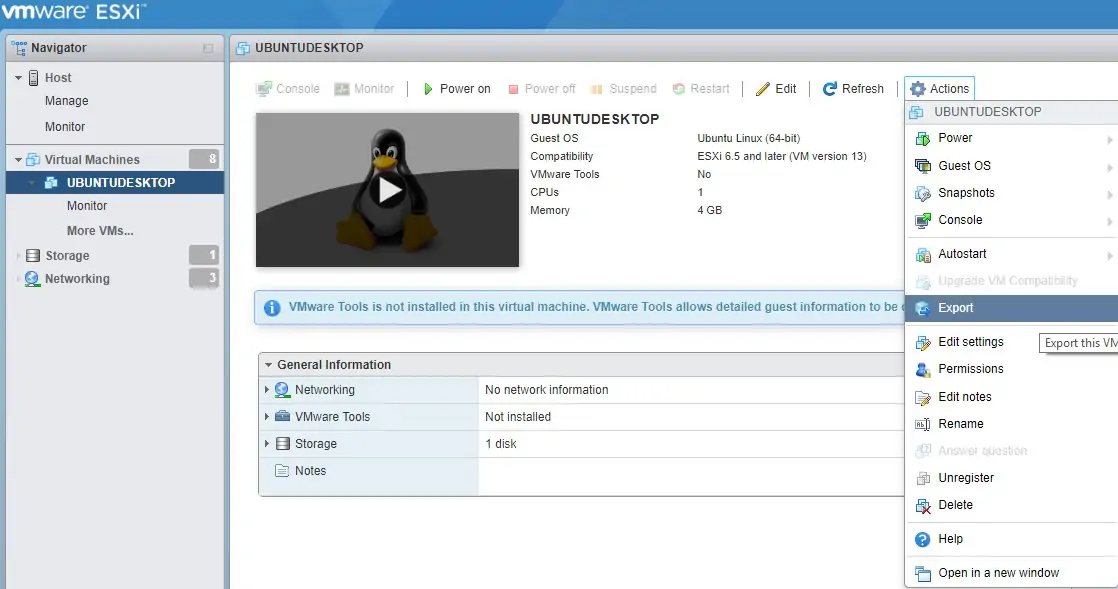
On the Vmware Dashboard, Access the Networking Menu.
Access the Port Groups tab.
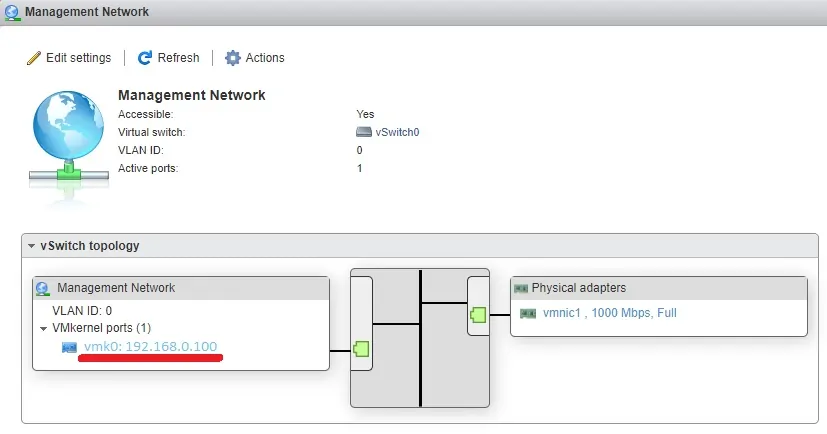
Click on the Management Network option.

On the next screen, you need to select the virtual management network interface.
In our example, we selected the VMK0 interface.
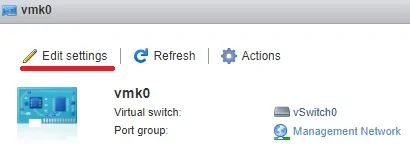
On the Top of the screen, click on the Actions menu and select the Edit settings option.
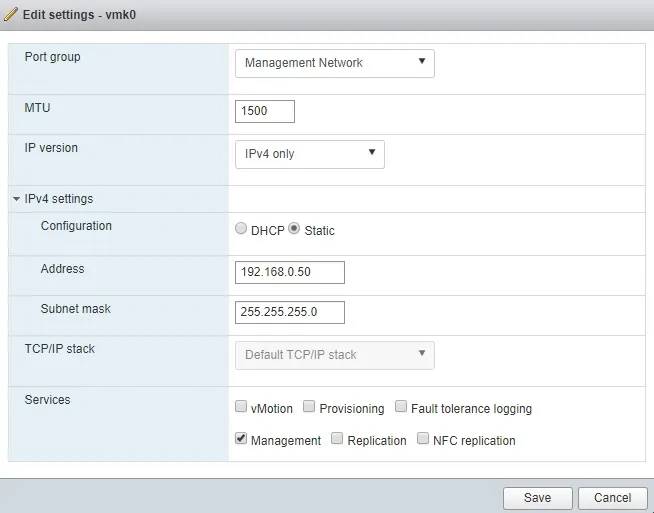
On the new screen, you are able to perform the static IP address configuration.
After finishing the configuration, you need to click on the Save button.
The IP address of your Vmware ESXi server will change immediately.
You will need to open your browser and enter the new IP address of your Vmware ESXi server.
Keep in mind that this screen does not offer the following configuration options:
• Hostname
• DNS Domain Name
• DNS Servers
• Default Gateway IP address
If you need to configure those options you will have to go back to the dashboard.

On the Vmware Dashboard, Access the Networking Menu.
Access the TCP/IP stacks tab.
Click on the Default TCP/IP stack option.
On the new screen, click on the Actions menu and select the Edit settings option.

On the Top of the screen, click on the Actions menu and select the Edit settings option.

On this screen, you are able to change the following network configuration:
• Hostname
• DNS Domain Name
• DNS Servers
• Default Gateway IP address
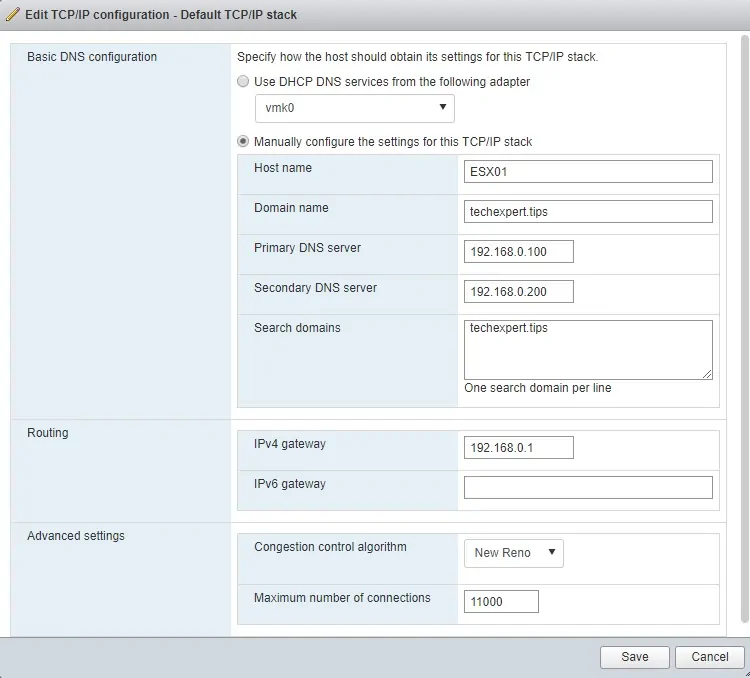
Congratulations! You successfully configured the IP address of a Vmware ESXi server.
Tutorial - Vmware ESXi IP Address Configuration using the Command-line
On this tutorial, we will also show you how to perform the network configuration using the command-line.
First, we need to enable the SSH service to be able to remote access the Esxi server.
Access the Manage menu, access the Services tab and locate the SSH service.
• Manage > Services > TSM-SSH
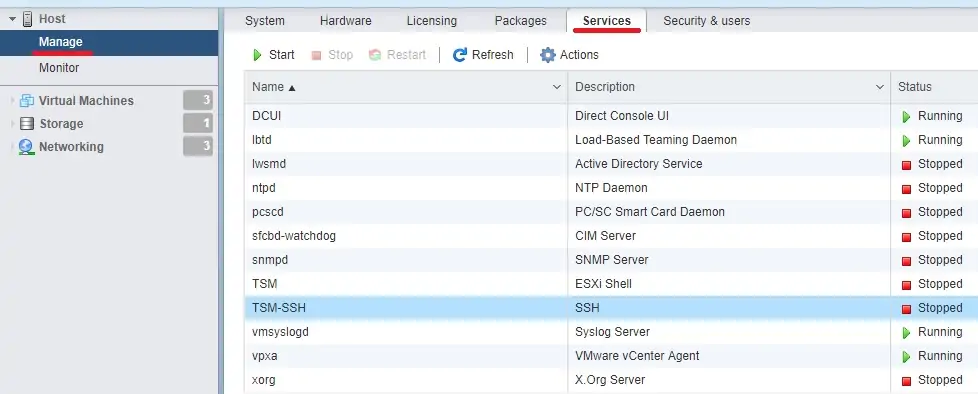
Right click on the SSH service and select the Start option.
Use the Putty software and connect on the Vmware ESXi server.
In our example, we are going to use an Opensource software named Putty and a computer running Windows.
The Putty software is available on the putty.org website.
After finishing the download, run the software and wait for the following screen.
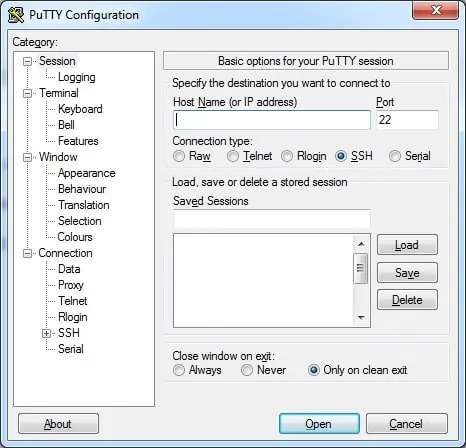
Select the SSH option and enter the IP address of the VMWare ESXi server.
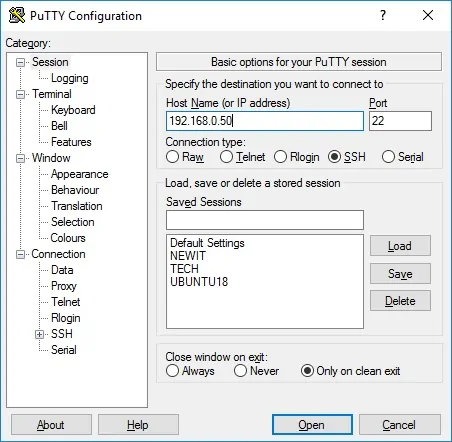
On the prompt screen, enter the administrative login information.
Factory default access information:
• Username: root
• Password:
After a successful login, the console command-line will be displayed.
Use the following command to enter the Maintenance mode
Use the following command to list the Vmware ESXi IP address configuration.
Use the following command to perform the static IP address configuration.
Only one default gateway can be configured on a Vmware ESXi host
Use the following command to configure a default route on your Vmware ESXi server:
Use the following command to change the hostname of your Vmware ESXi server:
Use the following command to add a DNS server to your Vmware ESXi server:
Exit the Maintenance mode and reboot your Vmware ESXi server.
Congratulations! You successfully performed the Vmware ESXi network configuration.
