Would you like to learn how to install PostgreSQL on Windows? This tutorial will show you how to install the PostgreSQL service on a computer running Windows.
• Windows 2012 R2
• Windows 2016
• Windows 2019
• Windows 10
• Windows 7
• PostgreSQL 13
Hardware List:
The following section presents the list of equipment used to create this tutorial.
Every piece of hardware listed above can be found at Amazon website.
Windows Related Tutorial:
On this page, we offer quick access to a list of tutorials related to Windows.
Tutorial PostgreSQL - Installation on Windows
Access the POSTGRESQL website and download the POSTGRESQL installation package.
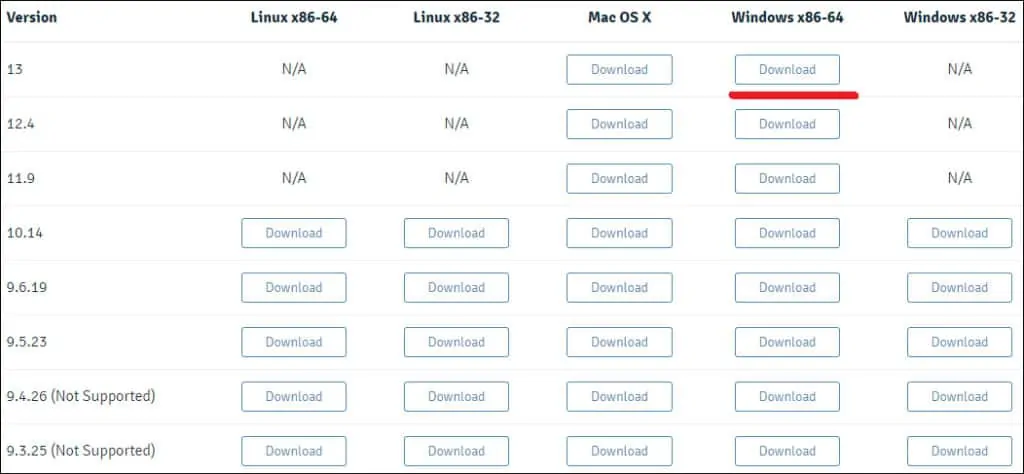
In our example, PostgreSQL version 13 will be installed on a computer running Windows 2016.
Double-click the package to start the PostgreSQL software installation.
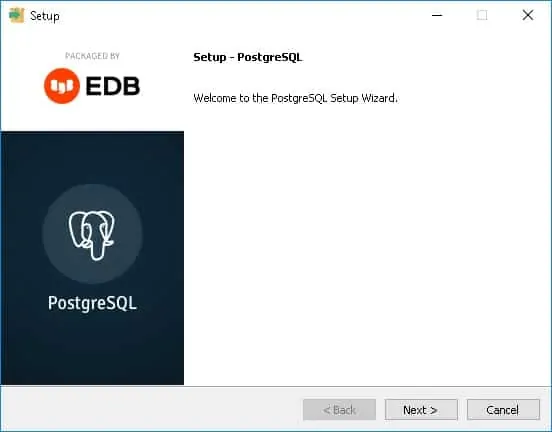
Select the installation directory and click on the Next button.
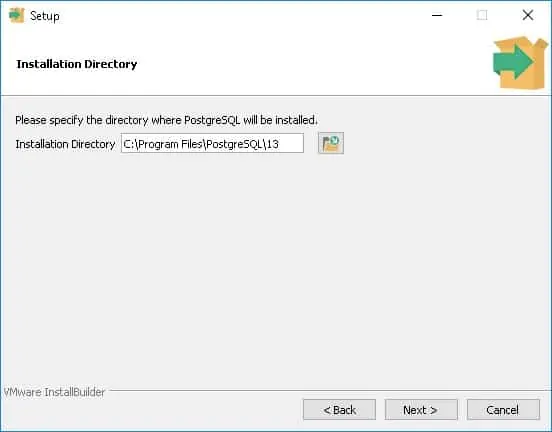
Select the desired PostgreSQL components.
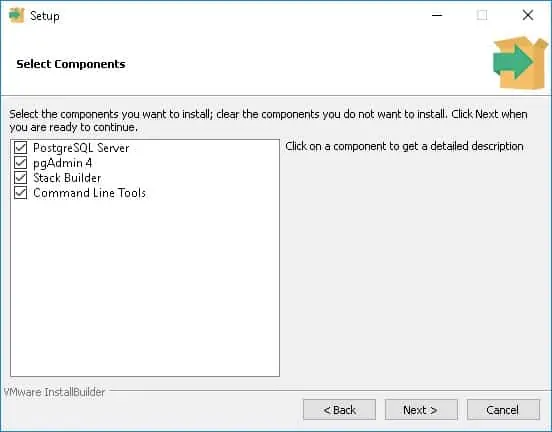
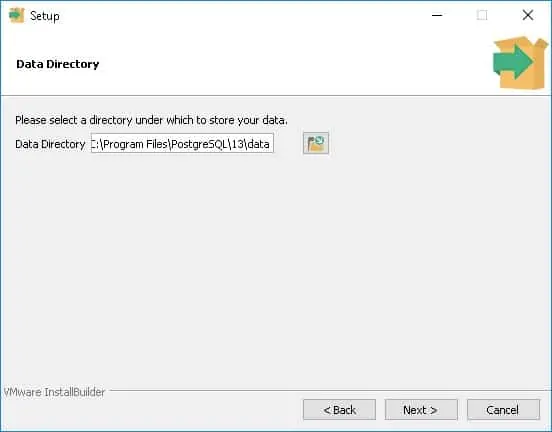
Select the data directory and click on the Next button.
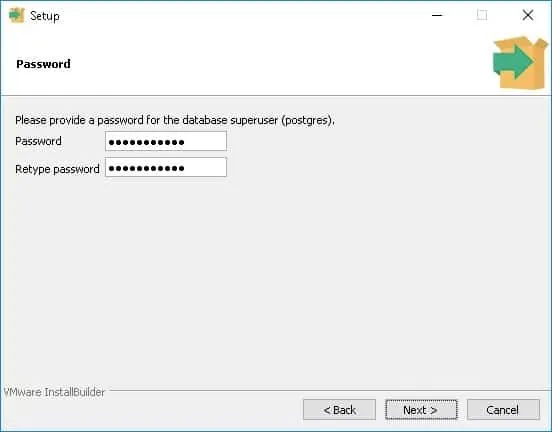
Enter the password for the PostgreSQL service administrator.
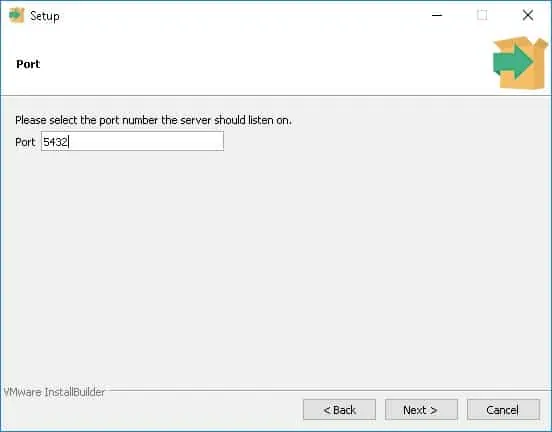
Set the desired TCP port for the PostgreSQL service.
In our example, we kept the default TCP port.
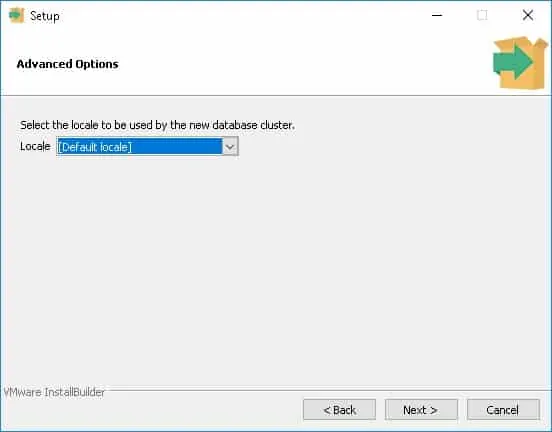
Click on the Next button.
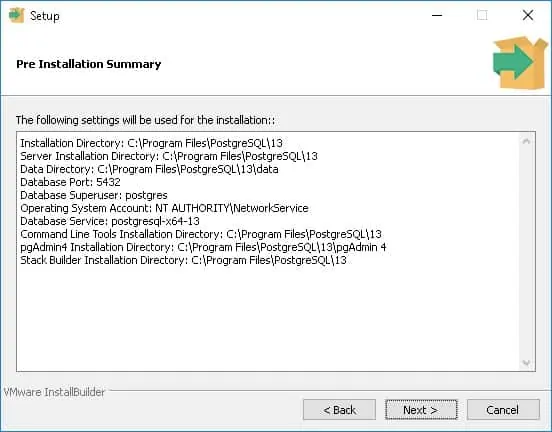
Verify the summary and start the PostgreSQL installation.
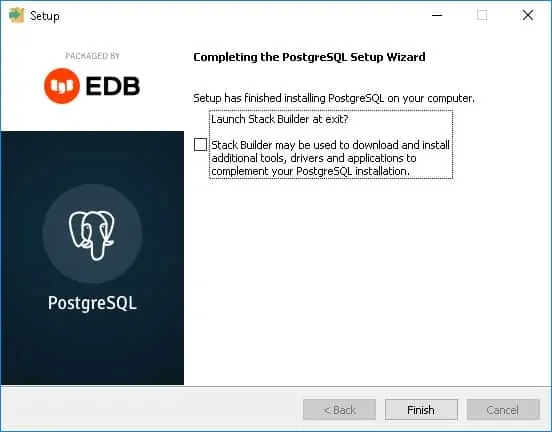
Uncheck the box and click on the Finish button.
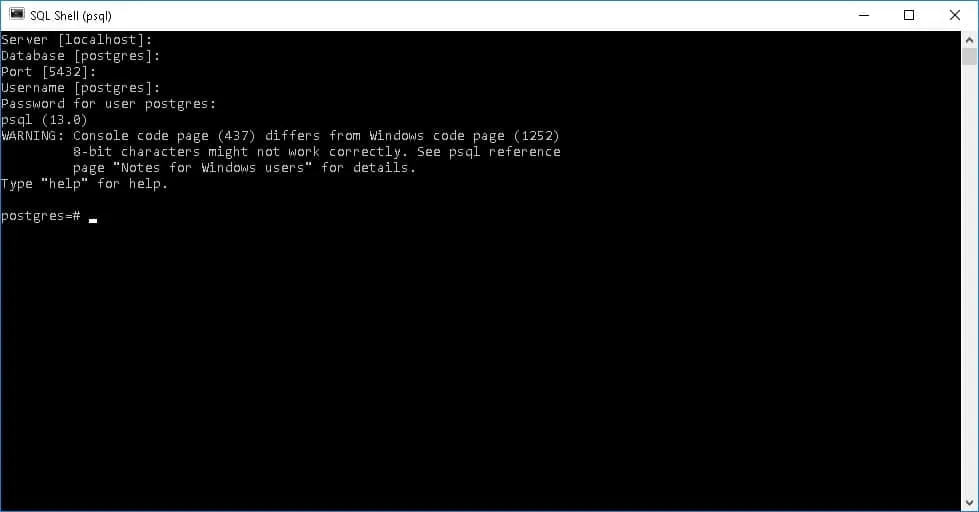
On the Windows server, click on the start menu and select the SQL SHELL option.
Enter the POSTGRESQL administrator password.
The installation also offers a web interface to manage the PostgreSQL named PGADMIN4.
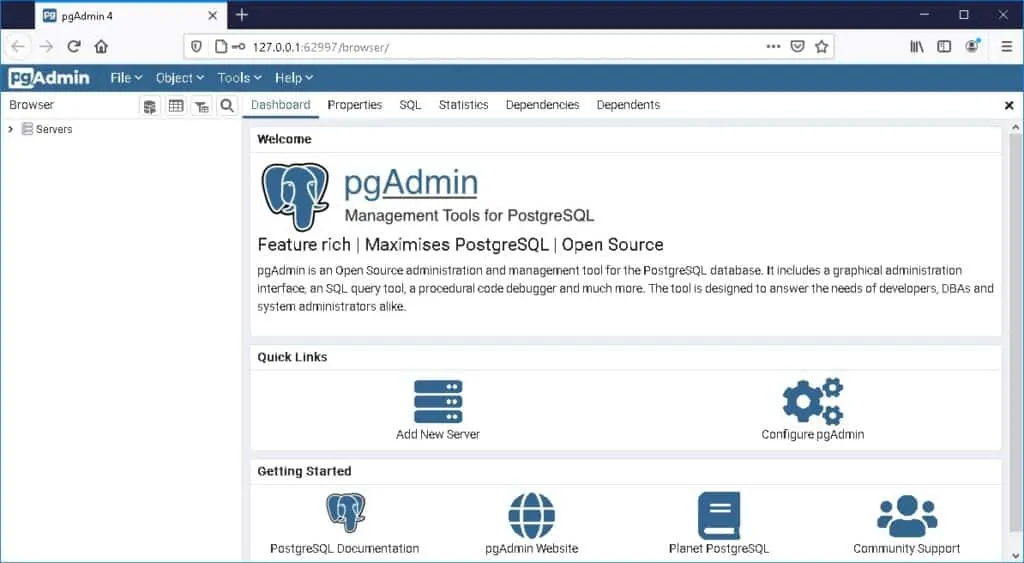
Congratulations, you have installed the PostgreSQL service on Windows.
