Would you like to learn how to install Vmware ESXi? In this tutorial, we are going to show you all the steps required to download and install a Vmware ESXi server using the original ISO file.
This tutorial was tested on Vmware ESXi 6.5
This tutorial was tested on Vmware ESXi 6.7
Copyright © 2018-2021 by Techexpert.tips.
All rights reserved. No part of this publication may be reproduced, distributed, or transmitted in any form or by any means without the prior written permission of the publisher.
Vmware ESXi Playlist:
On this page, we offer quick access to a list of videos related to Vmware ESXi.
Don't forget to subscribe to our youtube channel named FKIT.
VMware ESXi Related Tutorial:
On this page, we offer quick access to a list of tutorials related to Vmware Esxi.
Tutorial - Vmware ESXi Download
Access the Vmware Download Portal.
You will need to create a Vmware Free account to download the Vmware ESXi installation image.
On the Vmware download portal, you will need to find the last version of Vmware ESXi.
Select the Vmware ESXi software and click on the Download button.
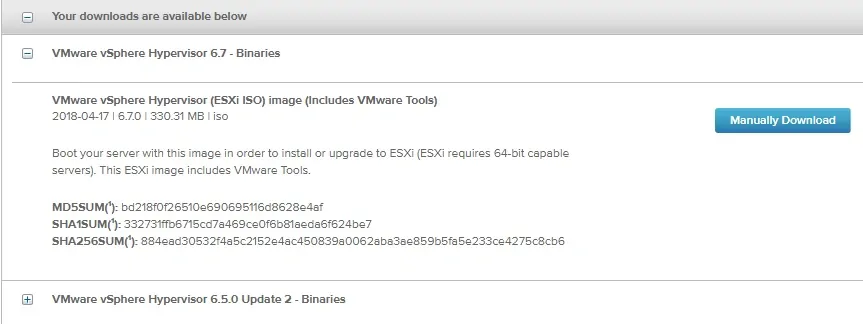
In our example, we downloaded the Vmware ESXi 6.7 installation image.
The installation file name was VMware-VMvisor-Installer-6.7.0-8169922.x86_64.iso.
Tutorial - Vmware ESXi Installation
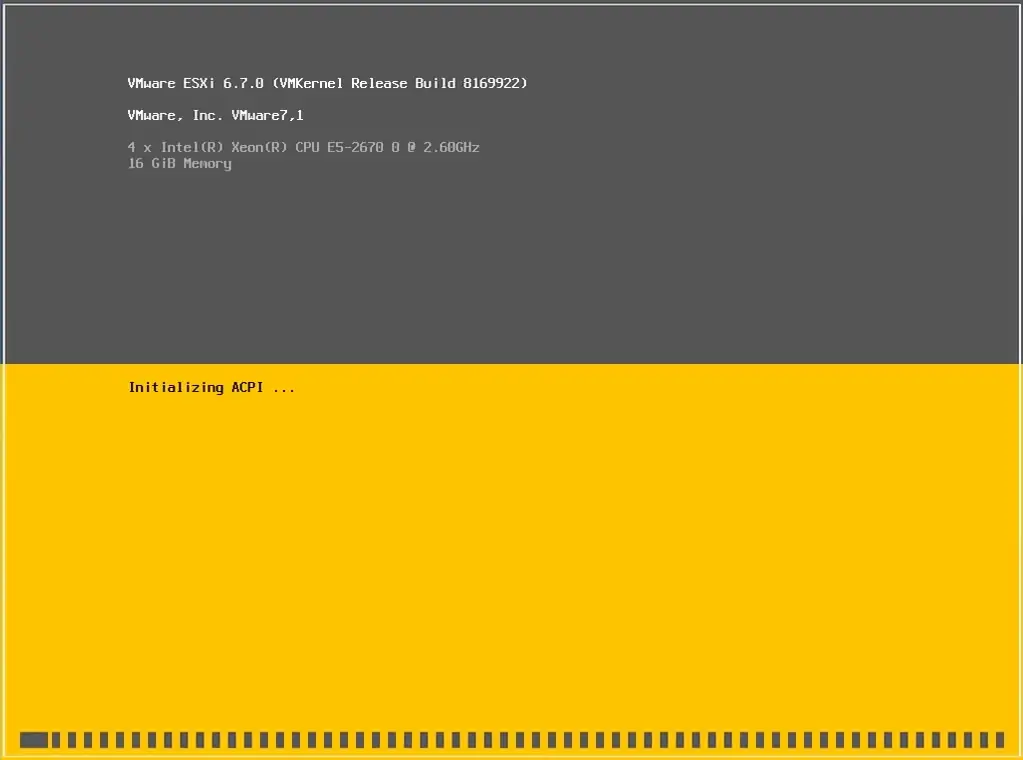
Perform the computer boot using the Vmware ESXi installation media.
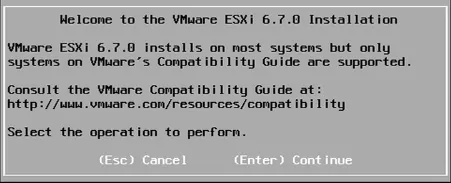
On the Welcome screen, press Enter to start the Vmware ESXi 6.7 installation process.
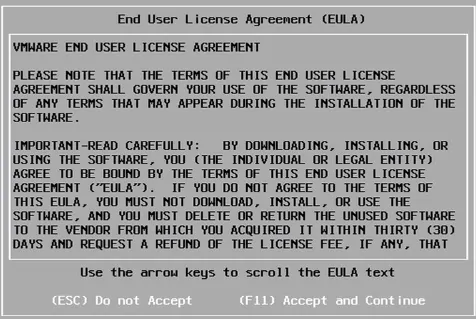
Press F11 to accept the End User License Agreement.
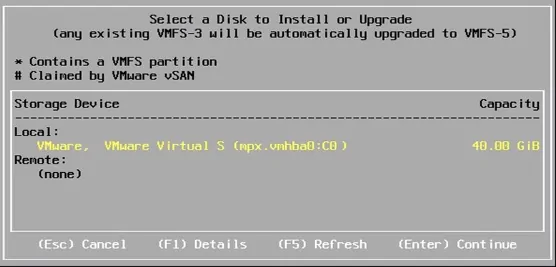
Select the disk where Vmware ESXi should be installed.
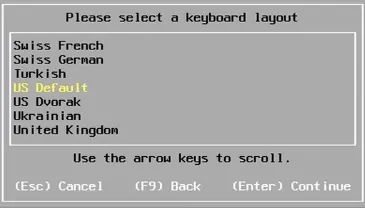
Select the desired Vmware keyboard layout.
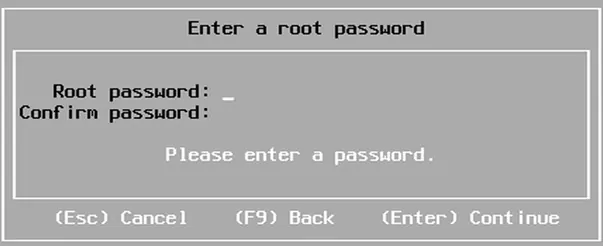
Enter the desired Vmware root password.
Press F11 to start the installation.

The system will start the installation of Vmware ESXi 6.7.
Remove the installation media and press Enter to reboot the computer.
The server will shut down and reboot.
The process will take a short time to complete.
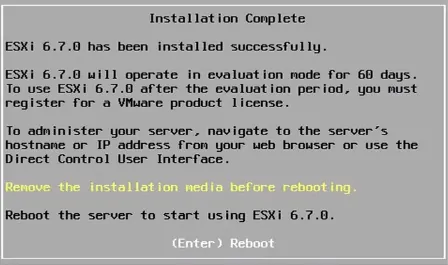
After rebooting, the Vmware console screen will be presented.

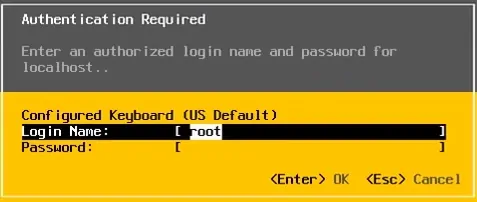
Press F2 to access the Vmware Console menu and customize your installation.
You will be required to enter the Root user login information.
The Vmware System Customization menu will be displayed.
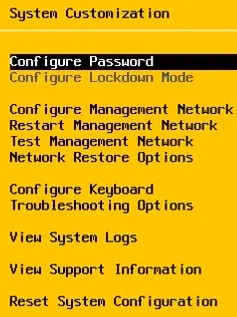
Select the Configure Management network option.
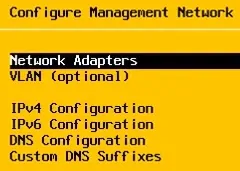
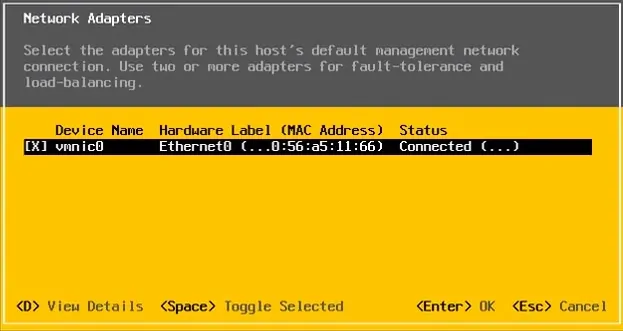
If you have more than 1 network interface, access the Network Adapters menu.
Select the network interface that should act as the management interface.
To configure the management interface IP address, select the IPV4 configuration option.
Enter the desired IP address, network mask, and gateway address.
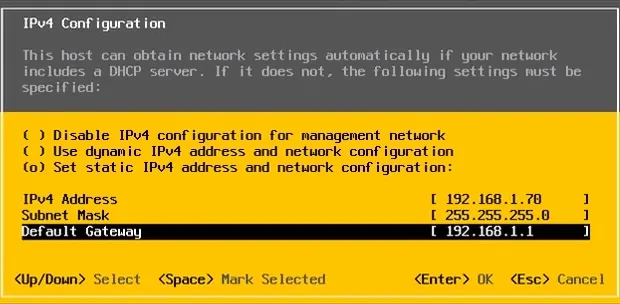
In our example, the Vmware Server was configured to use the IP address 192.168.1.70.
After finishing the IP address configuration, you are able to access the Vmware Web interface.
Open a browser software, enter the IP address of your Vmware ESXi server and access web interface.

On the prompt screen, enter the administrative login information.
After a successful login, the Vmware dashboard will be displayed.
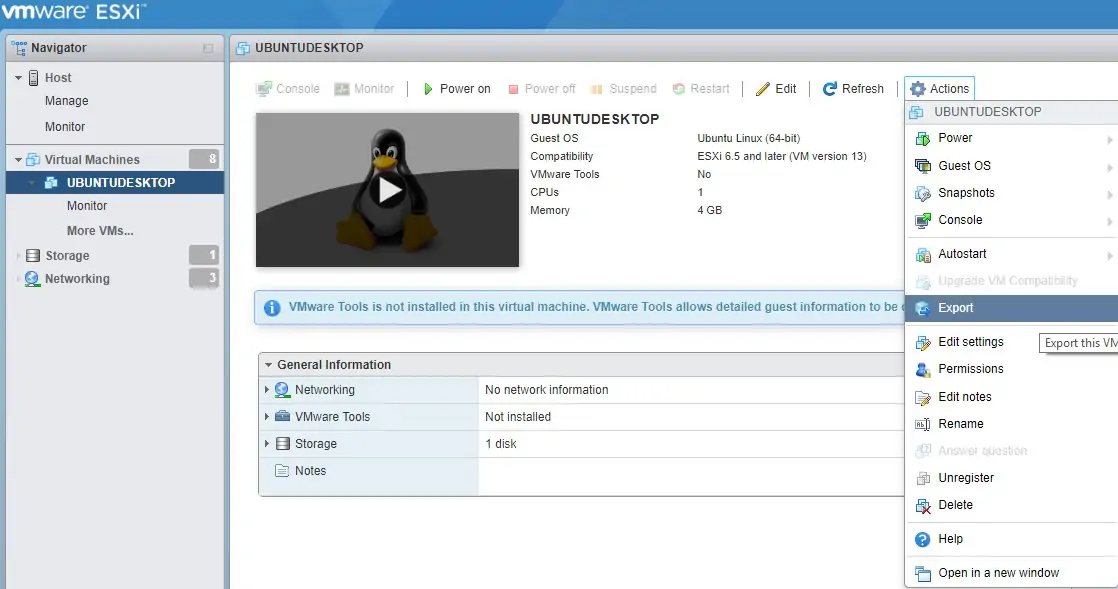
Congratulations! You successfully installed Vmware ESXi 6.7.
