Would you like to learn how to configure port forwarding using PLINK? In this tutorial, we are going to show you how to configure local and remote port forwarding on a computer running Windows.
Port forwarding is also known as TCP port tunneling.
• Windows 2012 R2
• Windows 2016
• Windows 2019
• Windows 2022
• Windows 10
• Windows 11
Equipment list
Here you can find the list of equipment used to create this tutorial.
This link will also show the software list used to create this tutorial.
Windows Related Tutorial:
On this page, we offer quick access to a list of tutorials related to Windows.
Tutorial Windows - Port forwarding using PLINK
Start a command-line prompt.

Download the PLINK software.
Redirect the local port 8888 to a remote server on port 80.
Redirect the local port 8888 to a remote server on port 80 without user interaction.
Check the image for a better understanding.

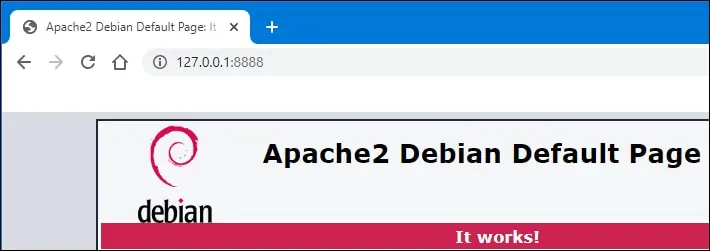
Open a browser and try to access the local port 8888.

Redirect any incoming connection on port 9999 to a remote server on port 80.
Check the image for a better understanding.

Create a firewall rule allowing incoming connections on the TCP port.
Open a browser and try to access any IP address of the local host on port 9999.

To stop the port forwarding, quit the SSH session.
Congratulations! You are able to configure the local port forwarding using PLINK on Windows.
Tutorial Windows - Remote port forwarding using PLINK
Start a command-line prompt.

Download the PLINK software.
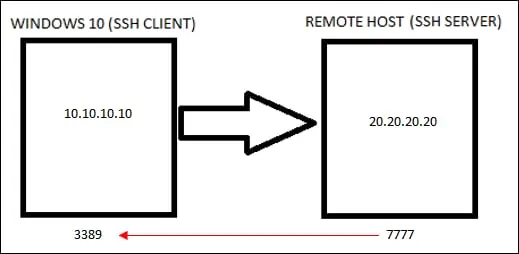
Redirect the remote port 7777 to the local port 3389.
Redirect the remote port 7777 to the local port 3389 without user interaction.
Check the image for a better understanding.

On the remote computer, check if the TCP port 777 is listening.
Here is the command output.
To stop the port forwarding, quit the SSH session.
Congratulations! You are able to configure the remote port forwarding using PLINK on Windows.
