Would you like to learn how to configure a TP-LINK ARCHER C6 AC1200 wireless router? In this tutorial, we are going to show you how to do the initial IP address configuration on a TP-LINK ARCHER C6 AC1200 access point and how to create your first wireless network.
• TP-LINK ARCHER C6 AC1200 - Version 2.0
Hardware List:
The following section presents the list of equipment used to create this tutorial.
Every piece of hardware listed above can be found at Amazon website.
TPLINK - Related Tutorial:
On this page, we offer quick access to a list of tutorials related to TP-LINK AC1200.
Archer C6 AC1200 - Initial configuration
Connect your computer to the Archer AC1200 using an ethernet cable.

Connect the port named Internet to a device with internet access.

Configure the following network address on your computer:
• IP - 192.168.0.100
• NETWORK MASK - 255.255.255.0
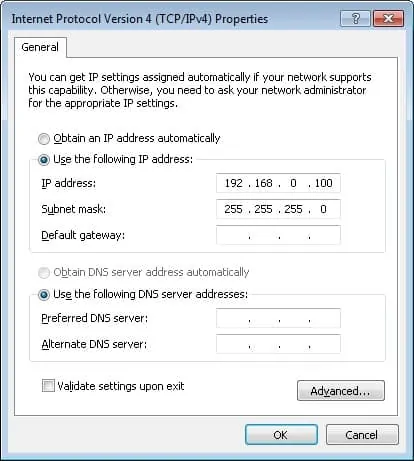
Turn on the TP-LINK AC1200 and wait 1 minute.
Press the reset button located on the back of your equipment for 10 seconds.
On your desktop, open a DOS prompt and try to ping the default IP address of the TP-LINK equipment.
• IP: 192.168.0.1
Open your browser and enter the IP address of your wireless router.
In our example, the following URL was entered in the Browser:
• http://192.168.0.1
The AC1200 web interface should be presented.
Set a management password.

On the login screen, enter the management password.
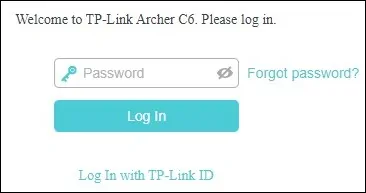
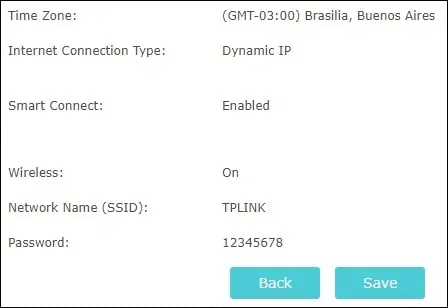
Select the correct timezone.

Select the best option for your internet connection.
In our example, we selected the Dynamic IP address.

Click on the Next button.

Enter a Wireless network name and the desired password.

On the summary screen, click on the Save button.
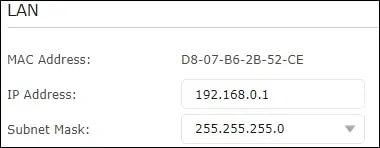
If you need to change the IP address of the device, access the Advanced tab on the top of the screen.

Access the NETWORK menu and select the LAN option.
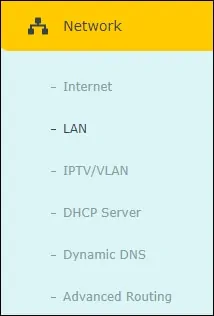
Enter the desired network configuration and click on the Save button.
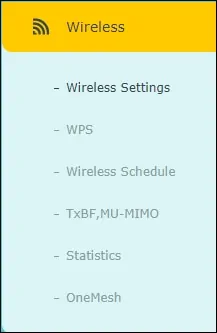
If you need to change the Wireless configuration, access the Advanced tab on the top of the screen.

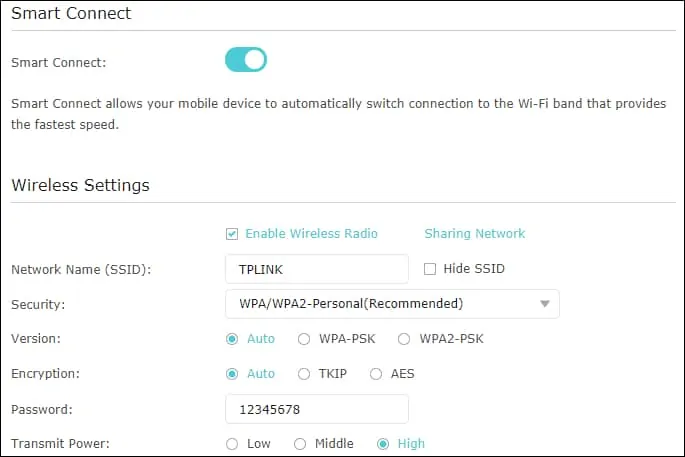
Access the WIRELESS menu and select the WIRELESS SETTINGS option.
Enter the desired wireless configuration and click on the Save button.
This tutorial presented the initial IP configuration process of a TP-Link ARCHER C6 AC1200.
