Would you like to learn how to perform a PowerChute Network Shutdown Installation on Vmware ESXi? In this tutorial, we are going to show you how to install PowerChute Network Shutdown on Vmware.
This tutorial was tested on APC UPS model SRT6KXLI also know as Smart-UPS SRT 6000.
This tutorial was tested on APC UPS model AP9631 also know as RT6000.
APC UPS IP Address: 192.168.0.100
VMWARE ESXi IP Address: 192.168.0.10
PowerChute Virtual Machine IP Addres: 192.168.0.15
Copyright © 2018-2021 by Techexpert.tips.
All rights reserved. No part of this publication may be reproduced, distributed, or transmitted in any form or by any means without the prior written permission of the publisher.
Equipment list
Here you can find the list of equipment used to create this tutorial.
This link will also show the software list used to create this tutorial.
APC UPS Playlist:
On this page, we offer quick access to a list of videos related to the APC UPS.
Don't forget to subscribe to our youtube channel named FKIT.
APC UPS - Related Tutorial:
On this page, we offer quick access to a list of tutorials related to APC UPS.
Tutorial - Configuring the APC UPS
First, we need to configure a user account with authorization to shutdown the UPS using the web interface.
Open your browser and enter the IP address of your APC UPS.
Example: http://192.168.0.100
On the login screen, use the default username and default password.
• Default Username: apc
• Default Password: apc
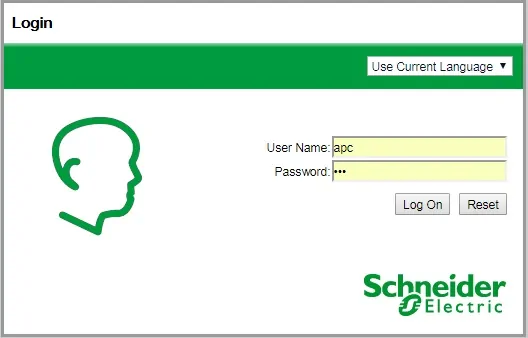
After a successful login, you will be sent to the APC UPS Dashboard.
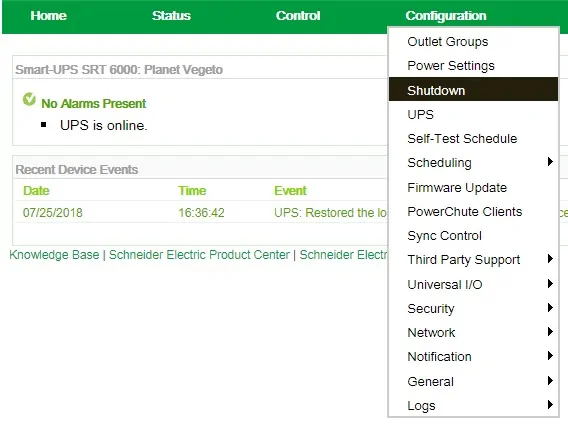
On the Web interface, access the Configuration menu and select the following option:
On the bottom of the screen, select the APC account and set an authentication phrase.
In our example, the authentication phrase used was: 12345678901234567890
Do not confuse password with the authentication phrase.
The apc user is configured with the apc password and the 12345678901234567890 authentication phrase.
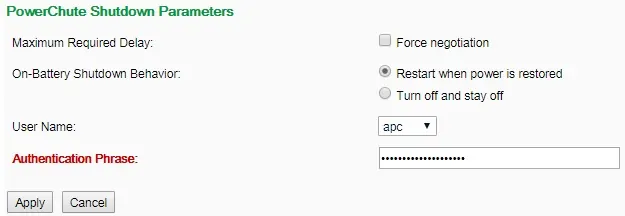
After finishing the UPC configuration, you need to click on the Apply button.
Tutorial - PowerChute Network Shutdown Installation on Vmware ESXi
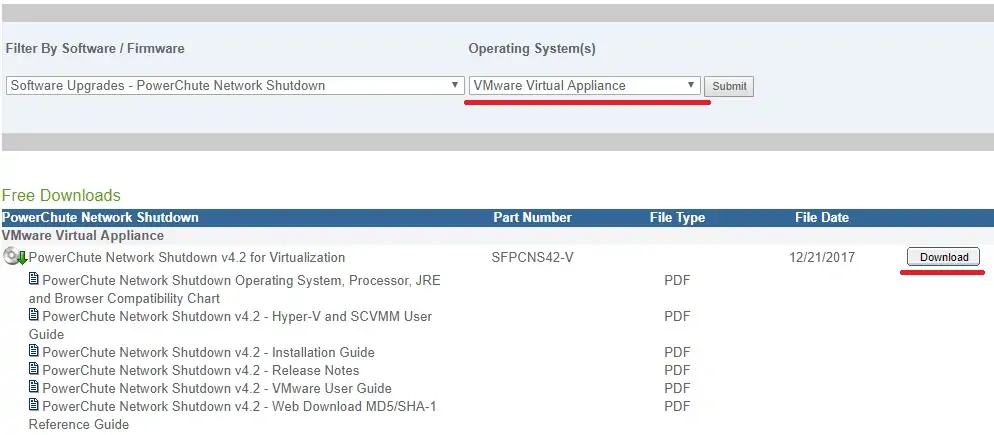
Now, you need to access the APC WEBSITE and download the required software.
Software name: PowerChute Network Shutdown
Part number of the software: SFPCNS42-V
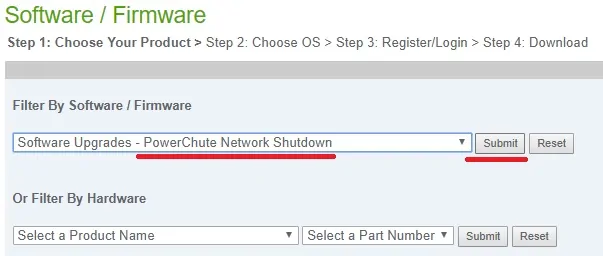
Select the Vmware Virtual Appliance option and start the download of the installation package.
Now, we need to import the virtual machine to VMware.
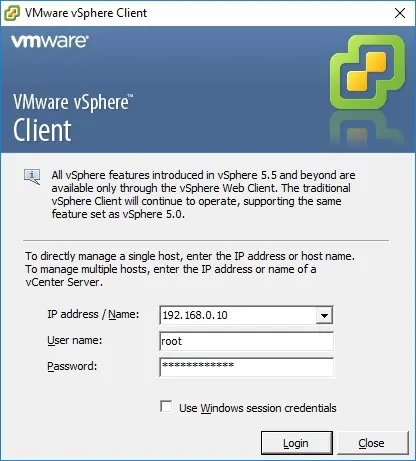
Open the Vsphere client and connect to your Vmware ESXi server.
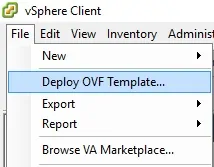
Open the File menu and select the option named: Deploy OVF Template.
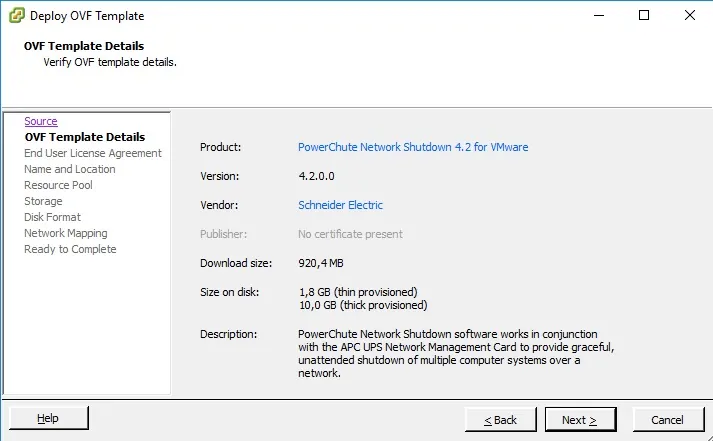
Locate the PowerChute virtual appliance file and start the importation process.
Filename: PCNS_4_2_CentOS7_OVA10_EN.ova
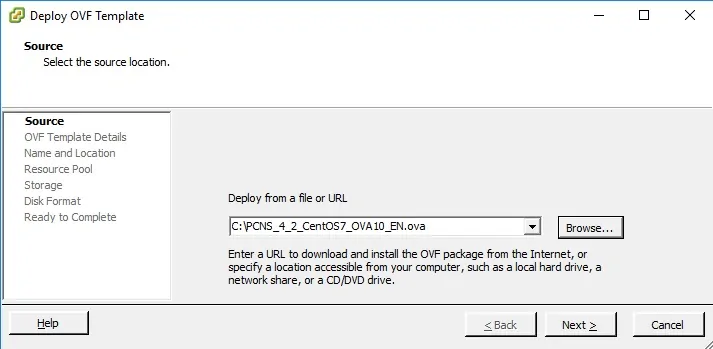
Click on the Next button.
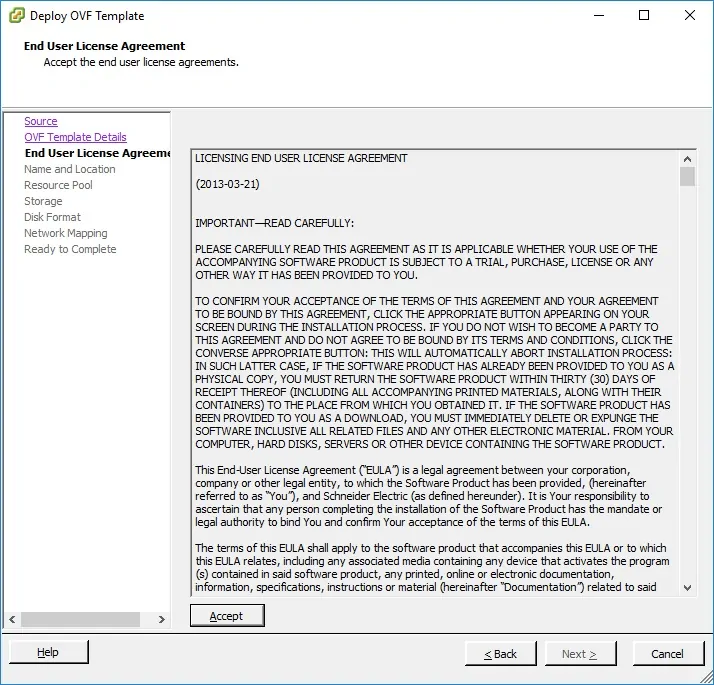
Accept the PowerChute license agreement and click on the Next Button.
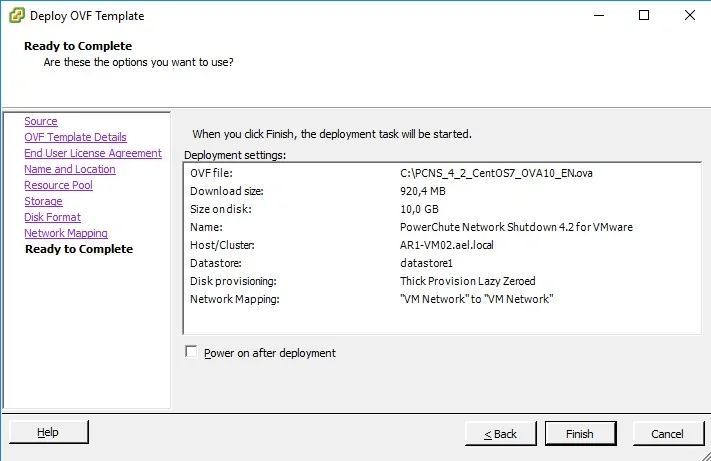
Take a look at the Summary of the virtual machine importation and click on the Finish button.
After finishing the importation process, turn on the Powerchute virtual machine.
The virtual machine is a customized CentOS Linux.
After finishing the boot process, the following screen should be presented:

The initial setup menu will be presented:
Press button 1 and accept the License agreement.
Press button 2 and set the language desired.
Press button 3 and set the correct timezone.
Press button 4 to set the hostname and the Ip address.
Press button 5 to set the root password for the Virtual Machine.
Press C to finish the installation process.
As our next step, we need to access the Powerchute web interface.
Open your browser and enter the IP address of your Powerchute Virtual machine server on port 6547.
Example: https://192.168.0.15:6547
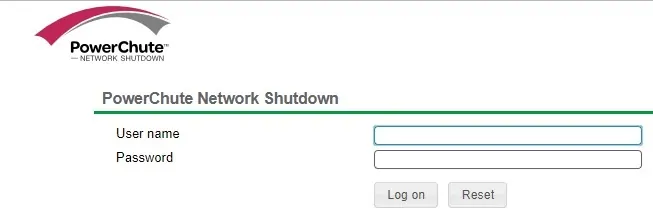
On the login screen, use the default username and default password.
• Default Username: apc
• Default Password: apc
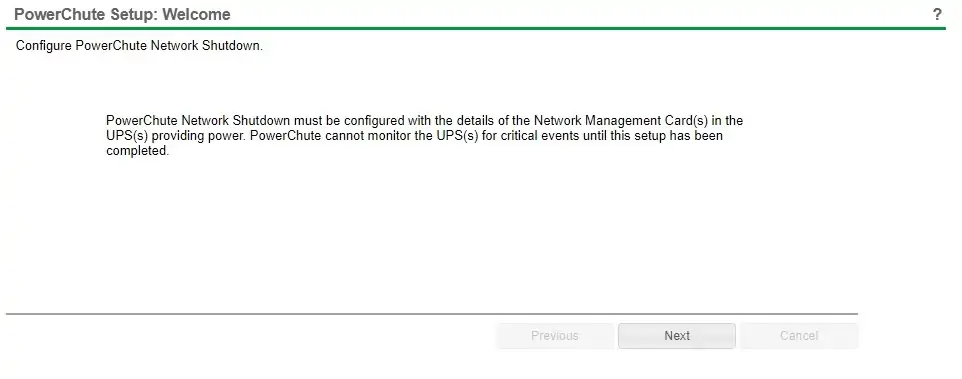
On the welcome screen, click on the Next button.
On the Network Configuration screen, select the IPV4 option and click on the Next button.

Select the option Standalone Vmware Host and click on the Next button.

Enter the required information to connect the Vmware ESXi server as root user.
• Host Protocol: https
• Host Port: 443
• Host Address: The IP address of your Vmware ESXi server
• Host Username: root
• Host Password: Root password

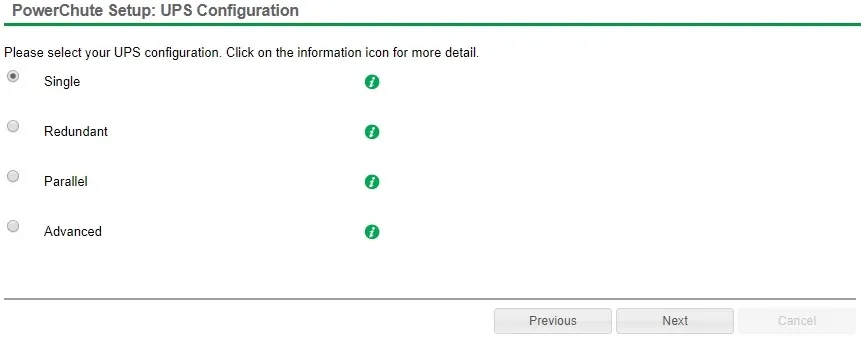
On the UPS Configuration screen, select the Single option and click on the Next button.
On the Security screen, you need to enter the following information:
• Default Username: apc
• Default Password: apc
• Default Password: 12345678901234567890
Do not confuse password with the authentication phrase.
The apc user was configured with the apc password and the 12345678901234567890 authentication phrase.

On the UPS Detail screen, you need to enter the following information:
• Protocol: http
• Port: 80
• IP Address: The IP address of your APC UPS management interface.

Now, you need to check everything and click on the Apply button.
The system will now try to integrate your Powerchute software to the APC UPS Network management interface.
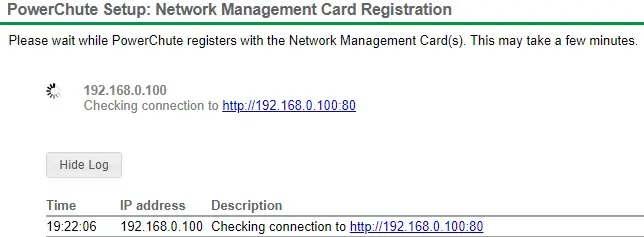
If you don't know which outlet to choose, you need to select the option named: Unswitched Group

Wait for the confirmation and click on the next button.
Select the desired behavior for the UPS after the Linux computer is shut down.

Click on the Finish button.

After finishing the installation, you should be sent to the PowerChute Dashboard.
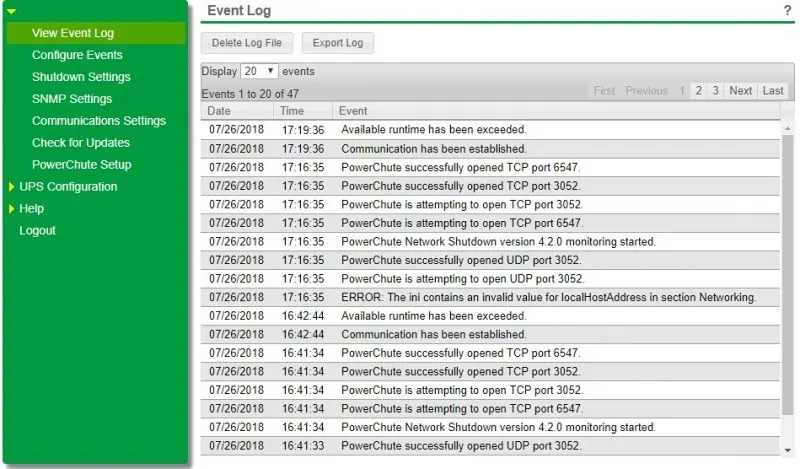
On the PowerChute Dashboard screen, you need to click on the menu: Configure Events.
On the Configure Events screen, click on the option named SHUTDOWN of the event named: UPS on Battery.

Select the Enable Shutdown checkbox.
Set the amount of time, in seconds, that your Linux computer should wait before shutting down automatically.

In our example, after 5 minutes on battery, the Linux computer will automatically shut down.
Congratulations! You have installed APC UPS PowerChute Network Shutdown application on Linux.
