Would you like to learn how to install Visual Studio on a computer running Windows? In this tutorial, we are going to show you how to install Visual Studio on a computer running Windows.
• Windows 2012 R2
• Windows 2016
• Windows 2019
• Windows 2022
• Windows 10
• Windows 11
Equipment list
Here you can find the list of equipment used to create this tutorial.
This link will also show the software list used to create this tutorial.
Windows Related Tutorial:
On this page, we offer quick access to a list of tutorials related to Windows.
Tutorial Windows - Visual Studio Installation
Access the Visual Studio website and download the latest version of the installer.
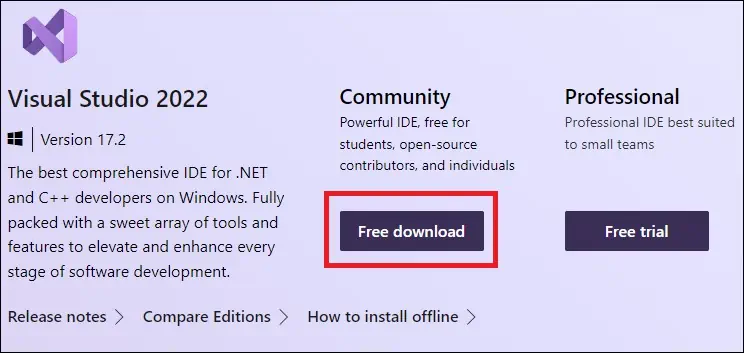
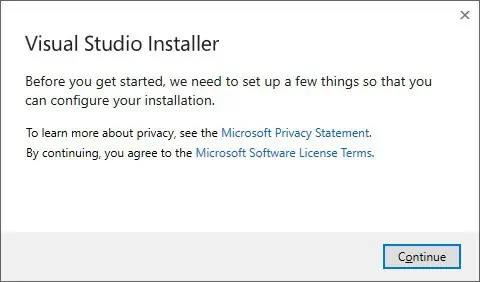
As the administrator, start the Visual Studio installation.

Let the system download the required packages.
Select the desired development language option.
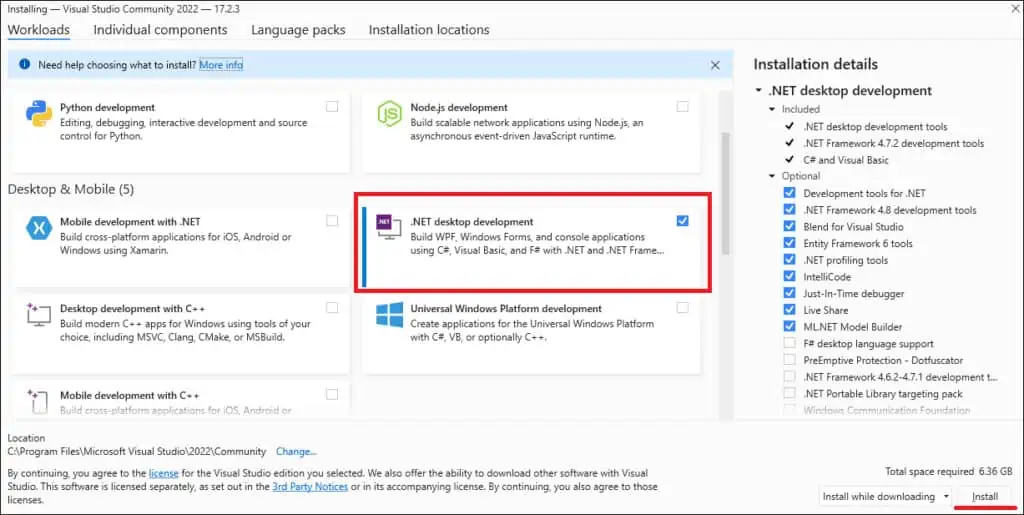
Click on the Install button.

Create a new account or perform the login.
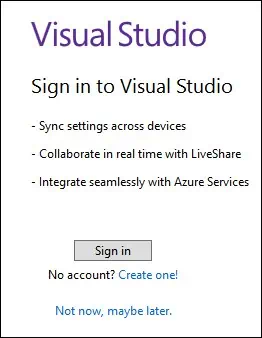
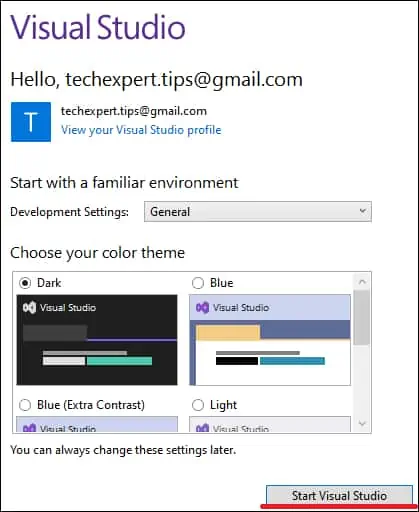
Click on the button to start the Visual Studio.
Select the option to start without code.
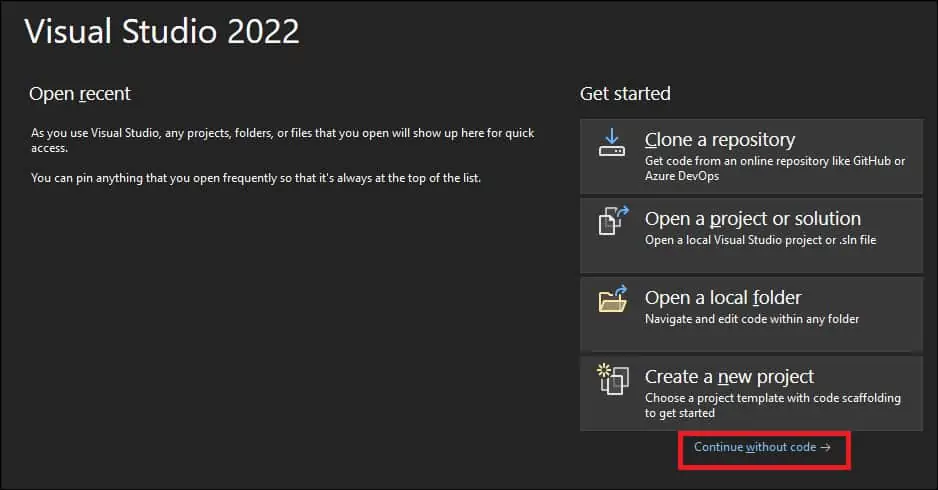
The Visual Studio interface will be displayed.

Congratulations! You have finished the Visual Studio installation on Windows.
Tutorial Visual Studio - Testing the Installation
On the Start menu, open the Visual Studio application.
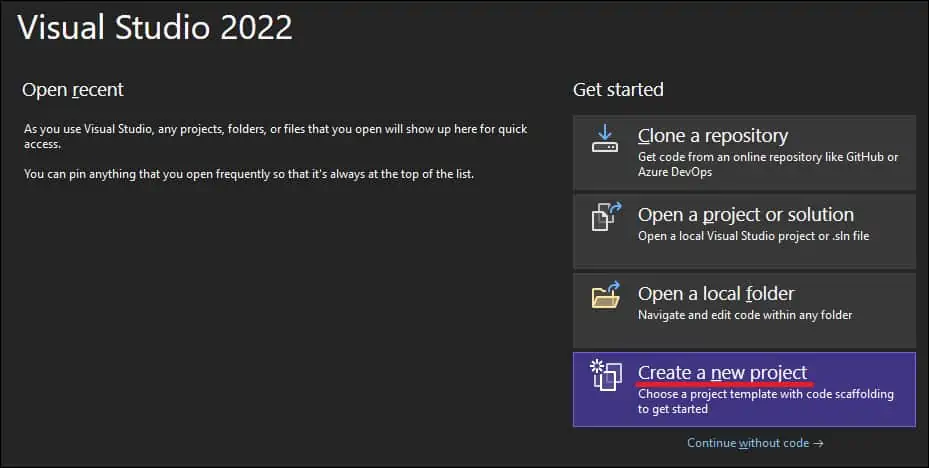
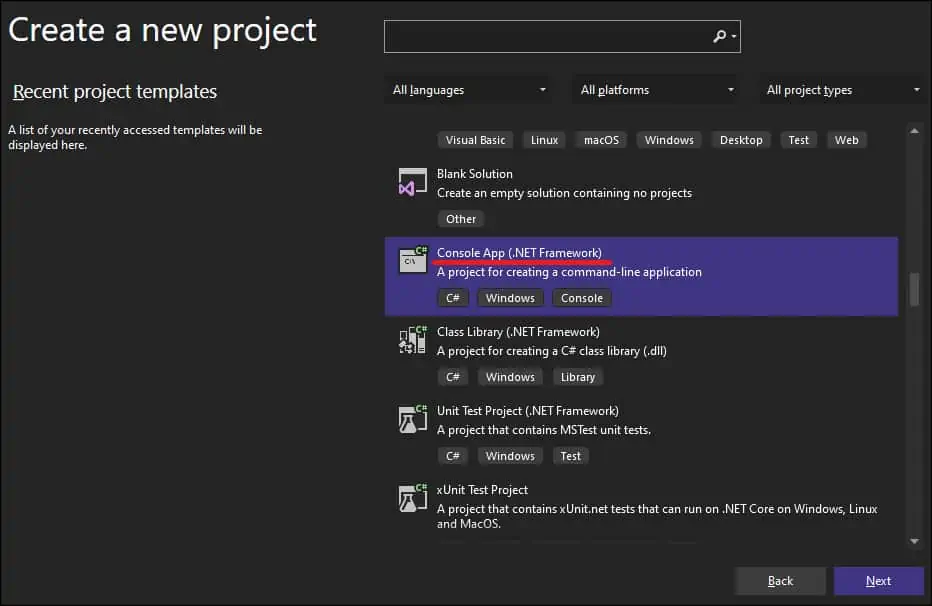
Create a new project.
Select the type of project and click on the button Next.
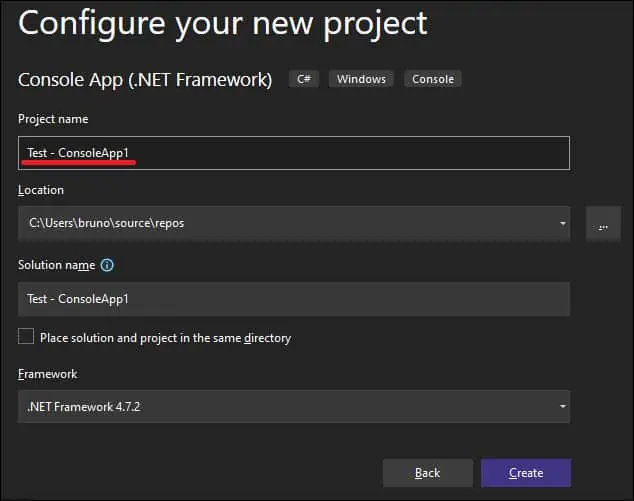
Enter a project name and click on the button Next.
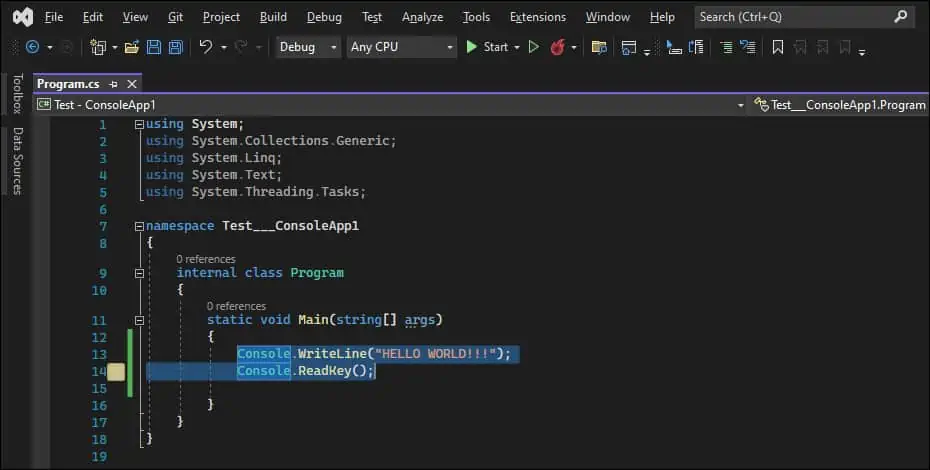
Add the following line to the code.
Here is our example.
Click on the Start button to build and run the application.

Visual Studio will build and run the application.

Congratulations! You have tested the Visual Studio installation on Windows.
