Would you like to learn how to copy or move a virtual machine to another Vmware ESXi server? In this tutorial, we are going to show you all the steps required to copy a virtual machine to another computer using the OVFTOOL software on Windows.
Vmware ESXi Playlist:
On this page, we offer quick access to a list of videos related to Vmware ESXi.
Don't forget to subscribe to our youtube channel named FKIT.
VMware ESXi Related Tutorial:
On this page, we offer quick access to a list of tutorials related to Vmware Esxi.
Tutorial - Vmware Copy Virtual Machine - Windows
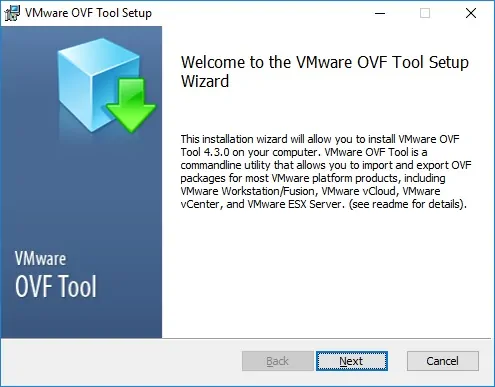
First, you need to download and install the software OVFTOOL.
Package: VMware OVF Tool for Windows 64-bit
Name: VMware-ovftool-4.3.0-7948156-win.x86_64.msi
Release Date: 2018-04-17
Build Number: 7948156
You can find this package on the Vmware website.
Open the VSphere software, enter the IP address of your Vmware ESXi server and access the console.

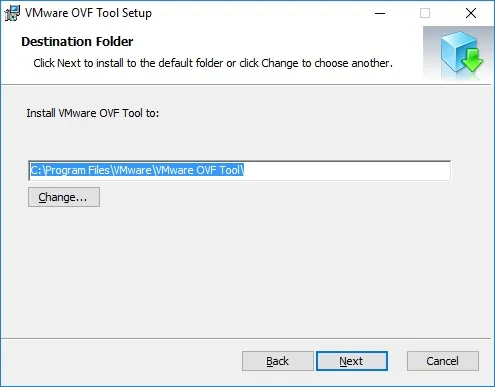
Take note of the OVFTOOL installation path.

In our example, the OVFTOOL software was installed on the following directory.
• C:\Program Files\VMware\VMware OVF Tool\
After finishing the installation, open a DOS prompt and access the OVFTOOL installation path.
You should be able to reach the folder C:\Program Files\VMware\VMware OVF Tool using the command line.
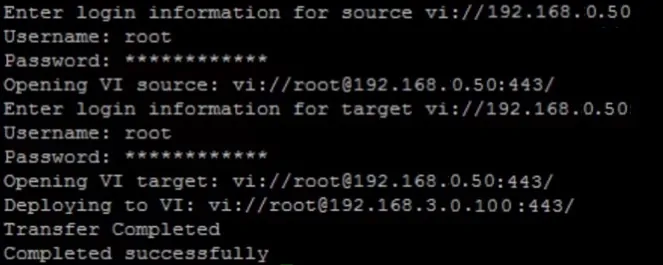
Use the following command to copy a virtual machine named UBUNTU between Vmware ESXi servers.
• Source: Vmware ESXi server 192.168.0.50
• Destination: Vmware ESXi server 192.168.0.100
You will need to login on both Vmware ESXi servers using a root level account.
You will have to wait for the process to finish the copy.

You can now access the destination Vmware ESXi server and turn on the virtual machine.
Don't forget to turn off the virtual machine on the source Vmware ESXi server.
Congratulations, you have copied a Vmware Virtual Machine between ESXi servers.
