Would you like to learn how to configure the Pfsense remote Syslog feature? In this tutorial, we are going to show you how to configure PFsense to send syslog notifications to a remote Syslog server.
• Pfsense 2.4.4-p3
PFsense Related Tutorial:
On this page, we offer quick access to a list of tutorials related to pfSense.
PFSense - Remote Syslog Configuration
Open a browser software, enter the IP address of your Pfsense firewall and access web interface.
In our example, the following URL was entered in the Browser:
• https://192.168.15.30
The Pfsense web interface should be presented.

On the prompt screen, enter the Pfsense Default Password login information.
• Username: admin
• Password: pfsense
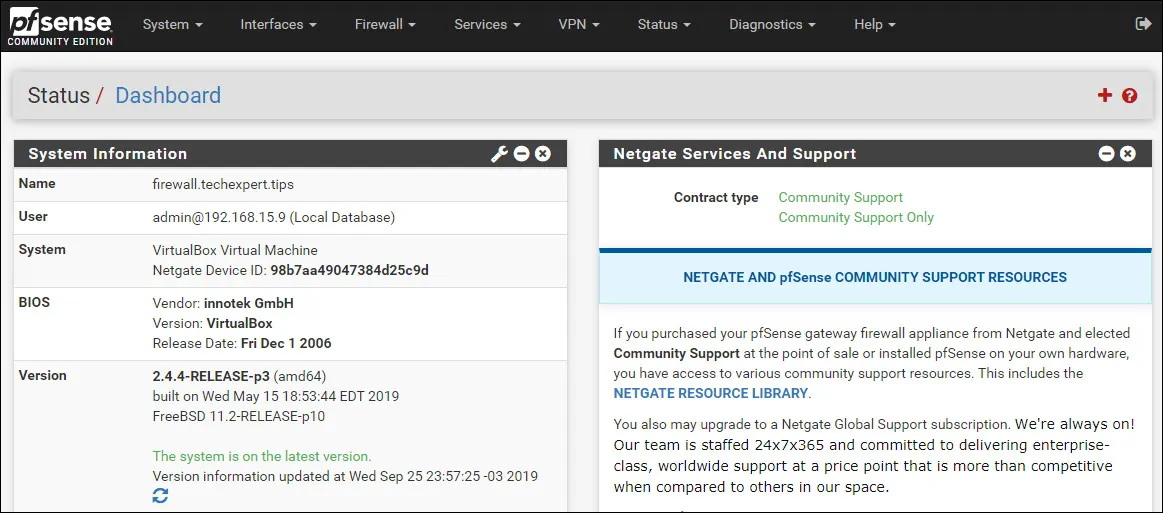
After a successful login, you will be sent to the Pfsense Dashboard.

Access the Pfsense Status menu and select the System logs option.

On the System logs screen, access the Settings tab.
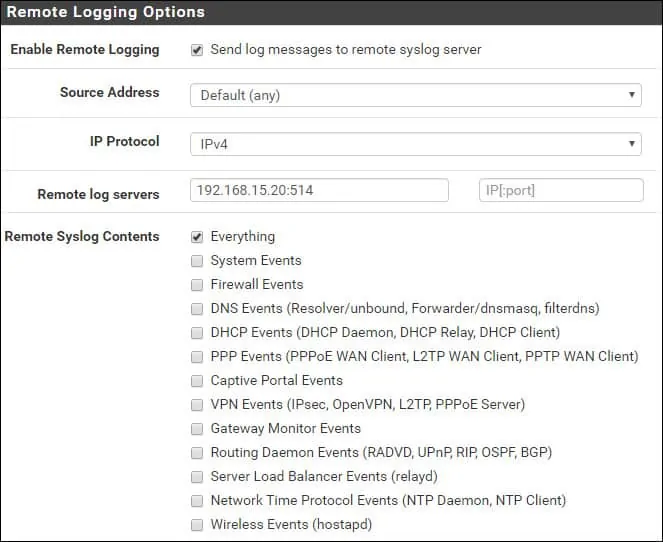
On the Settings tab, locate the Remote Logging Options area and perform the following configuration.
• Enable Remote Logging - Yes
• Source Address - Any
• IP Protocol - IPV4
• Remote log servers - 192.168.15.20:514
• Remote Syslog Contents - Everything
Click on the Save button to enable the Pfsense Syslog configuration.

In our example, the Pfsense firewall will send all logs to the remote server 192.168.15.20.
Congratulations! You have finished the Pfsense remote Syslog configuration.
Tutorial - Syslog Server Installation
Download the software: Visual Syslog Server for Windows
Install the Syslog server on a computer running Windows.
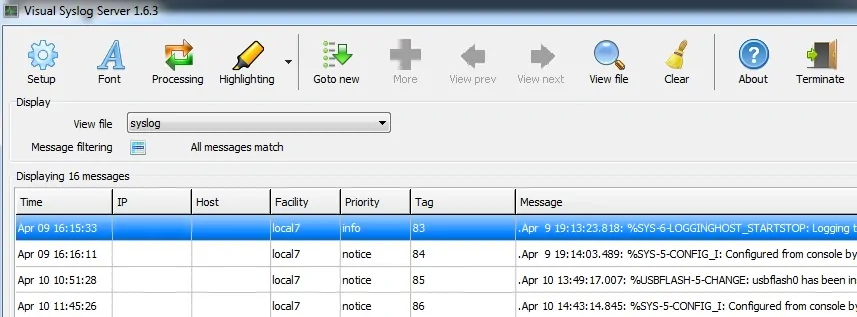
Open the Syslog application and check if it will receive messages from the Pfsense server.

You have successfully installed a Syslog server on a computer running Windows.
