Would you like to learn how to perform the Pfsense multiple WAN load-balancing configuration? In this tutorial, we are going to teach you how to configure the load-balancing feature on Pfsense.
• Pfsense 2.4.4-p3
PFsense Related Tutorial:
On this page, we offer quick access to a list of tutorials related to pfSense.
PFSense - Multiple WAN Configuration
Open a browser software, enter the IP address of your Pfsense firewall and access web interface.
In our example, the following URL was entered in the Browser:
• https://192.168.15.30
The Pfsense web interface should be presented.

On the prompt screen, enter the Pfsense Default Password login information.
• Username: admin
• Password: pfsense
After a successful login, you will be sent to the Pfsense Dashboard.
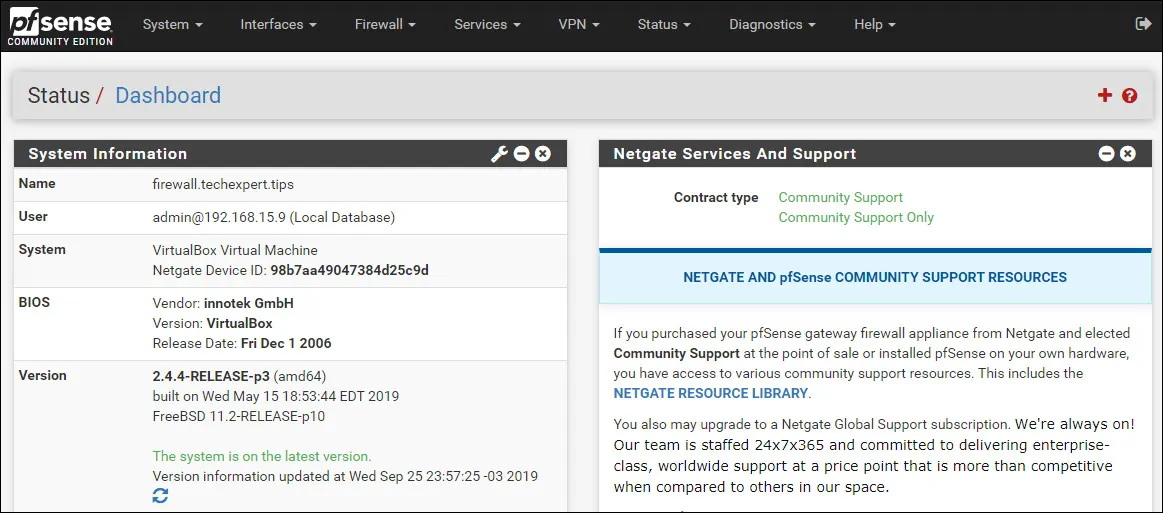
Access the Pfsense System menu and select the Advanced option.
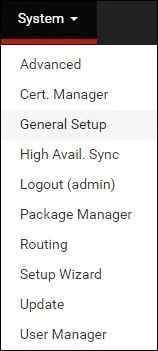
On the Miscellaneous tab, perform the following configuration:
Locate the load balancing area and enable the sticky connections feature.

Locate the Gateway monitoring area and perform the following configuration:
• State Killing on Gateway Failure - Yes
• Skip rules when gateway is down - Yes

Click on the Save button and then on the Apply button.
Keep in mind that you need to reply this configuration to all LAN firewall rules.
PFSense - Wan Load-Balancing Configuration
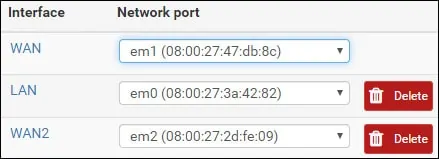
In our example, we have 1 LAN interface and 2 WAN interfaces.
Both WAN interfaces are using DHCP IP address.
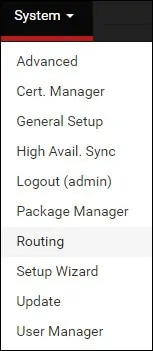
Access the Pfsense System menu and select the Routing option.
In our example, the Pfsense firewall has 2 WAN Gateways.

Access the Gateway groups tab and click on the Add button.
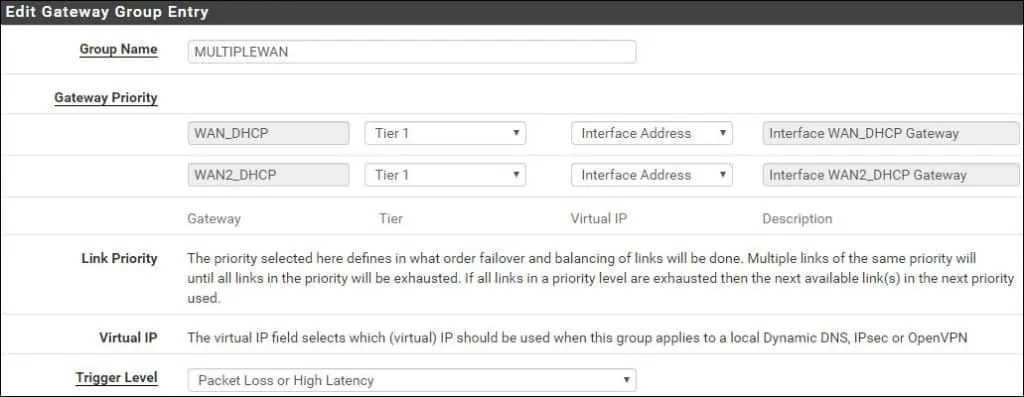
On the Gateway group screen, perform the following configurations:
• Group Name - Enter an identification to the WAN group
• Gateway Priority WAN1 - Tier 1
• Gateway Priority WAN2 - Tier 1
• Trigger Level - Packet Loss or High Latency
• Description - Optionally enter a description
Click on the Save button to finish the Gateway group configuration.
When you select the same TIER level to both links the load-balancing feature will be enabled.
Access the Gateways tab, locate the Default gateway area and perform the following configuration:
• Default gateway IPv4 - Select the Gateway group name created before
Click on the Save button and then on the Apply button.

If a WAN gateway packet Loss thresholds reach 20%, the link will be considered down.
If a WAN gateway Latency thresholds reach 500ms, the link will be considered down.
Congratulations! You have finished the pfsense WAN failover configuration.
PFSense Load-balancing - Firewall Configuration
Access the Pfsense Firewall menu and select the Rules option.
Access the LAN tab and edit the default IPV4 LAN rule.

On the firewall rule properties, locate the Extra options area and click on the Display advanced button.
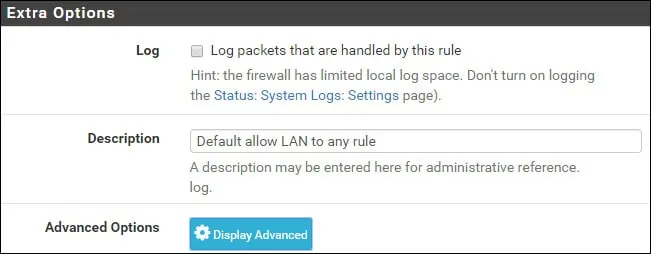
On the Advanced Options area, locate the Gateway configuration option and select your gateway group name.

Click on the Save button to apply the changes on the Pfsense configuration.
PFSense - Gateway Monitoring
Optionally, access the Dashboard and add a new widget to monitor the Pfsense gateways.

The new widget will monitor the Pfsense gateway status.

You are now able to monitor the status of all Pfsense gateways.
