Would you like to learn how to configure SNMPv3 on Vmware ESXi? In this tutorial, we are going to show you all the steps required to enable, configure and test SNMPv3 on a server running Vmware ESXi.
This tutorial was tested on Vmware ESXi 6
This tutorial was tested on Vmware ESXi 6.5
Vmware ESXi Playlist:
On this page, we offer quick access to a list of videos related to Vmware ESXi.
Don't forget to subscribe to our youtube channel named FKIT.
VMware ESXi Related Tutorial:
On this page, we offer quick access to a list of tutorials related to Vmware Esxi.
Tutorial - Vmware ESXi SNMPv3 Configuration
First, you need to access the Vmware ESXi console.
Open the VSphere software, enter the IP address of your Vmware ESXi server and access the console.
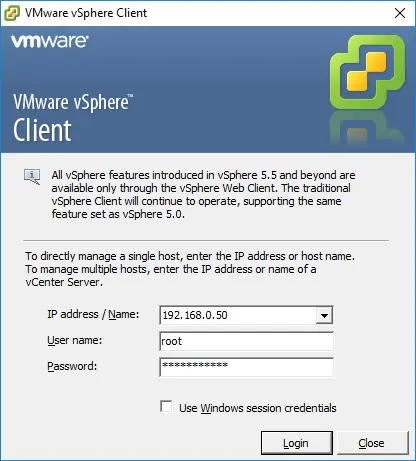
On the prompt screen, enter the administrative login information.
Factory default access information:
• Username: root
• Password:
After a successful login, the Vmware dashboard will be displayed.
Now, you need to enable the SSH service.
Access the Configuration tab and click on the Security profile option.
• Configuration > Software > Security Profile
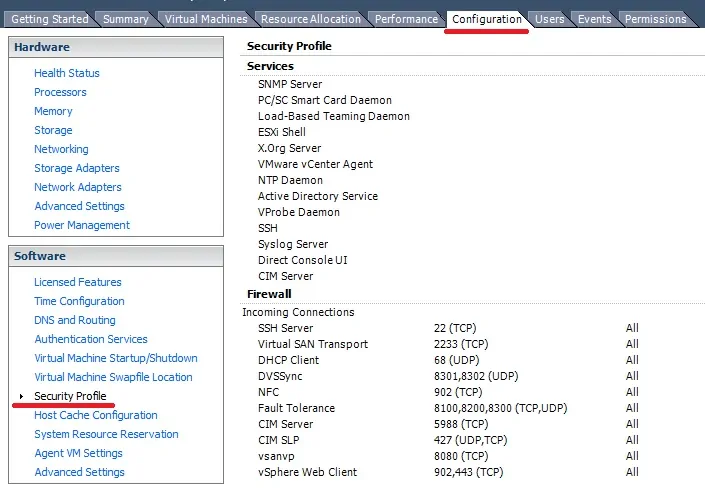
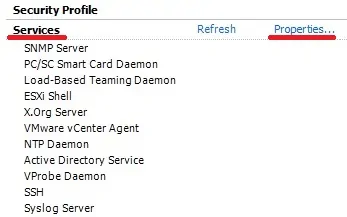
Click on the Service properties option.
Select the SSH service and Click on the Options button.
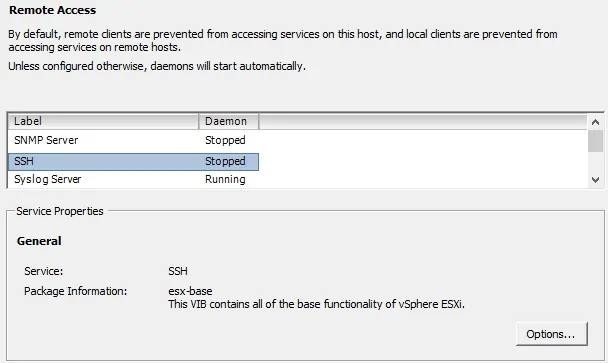
Select the following option and click on the Start button.
• Start and Stop with host
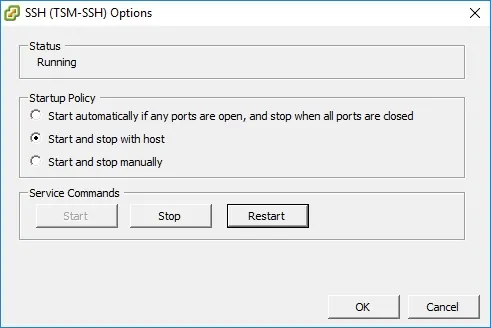
Select the following option and click on the Start button.
• Start and Stop with host
Now, you need to access the Vmware ESXi server using SSH.
In our example, we are going to use an Opensource software named Putty and a computer running Windows.
The Putty software is available on the putty.org website.
After finishing the download, run the software and wait for the following screen.
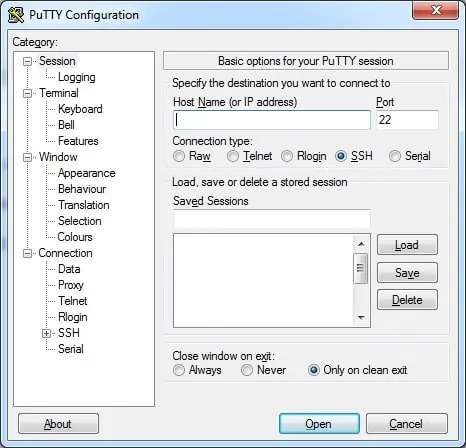
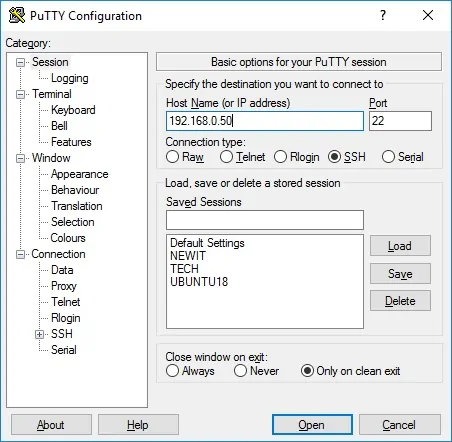
Select the SSH option and enter the IP address of the VMWare ESXi server.
On the prompt screen, enter the administrative login information.
Factory default access information:
• Username: root
• Password:
After a successful login, the console command-line will be displayed.
Use the following command to get the MAC address of your Vmware ESXi server.
Take note of the MAC address displayed.
In our example, the MAC address presented was 30:e1:71:5e:fc:14
Use the following command to set the SNMPv3 engine ID:
Replace 30e1715efc14 with your MAC address.
Use the following command to set the authentication and privacy algorithms used by SNMPv3.
In our example, we are going to use the SHA1 algorithm to authentication
In our example, we are going to use the AES128 algorithm to privacy.
Use the following command to generate the encrypted version of the authentication and privacy passwords.
Take note of your Authentication and Privacy password hash.
Use the following command to enable and configure the VMWare SNMPv3 service.
The User Gohan has SNMP read-only permission on the Vmware server.
The contact person responsible for this Vmware server was configured as Zamasu.
The location of the equipment was configured as the IT Room of Universe 10.
You have successfully enabled the Vmware SNMPv3 service.
You have successfully configured the Vmware SNMPv3 service.
Use the following command to display a summary of your SNMP configuration.
To test your SNMP configuration, use the following commands on a computer running Ubuntu Linux
Here is a small sample of the SNMPWALK output.
You have successfully configured the SNMPv3 service on a Vmware ESXi server.
Tutorial - Vmware ESXi SNMPv3 Configuration on Web Interface
First, you need to access the Vmware web interface.
Open a browser software, enter the IP address of your Vmware ESXi server and access web interface.

On the prompt screen, enter the administrative login information.
Factory default access information:
• Username: root
• Password:
After a successful login, the Vmware dashboard will be displayed.
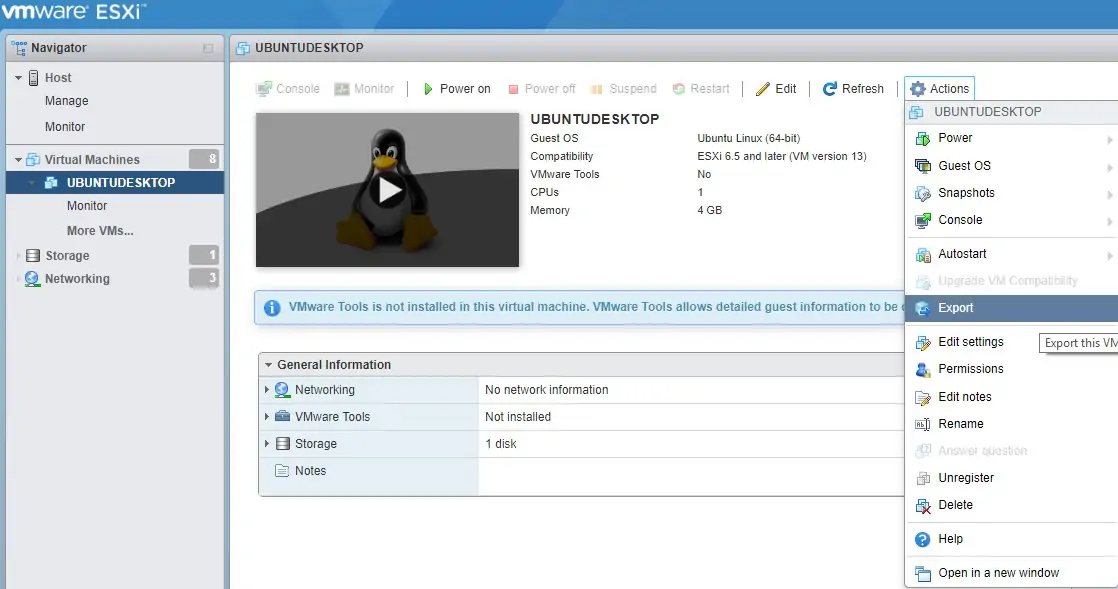
Now, you need to enable the SSH service.
Access the Manage menu, access the Services tab and locate the SSH service.
• Manage > Services > TSM-SSH
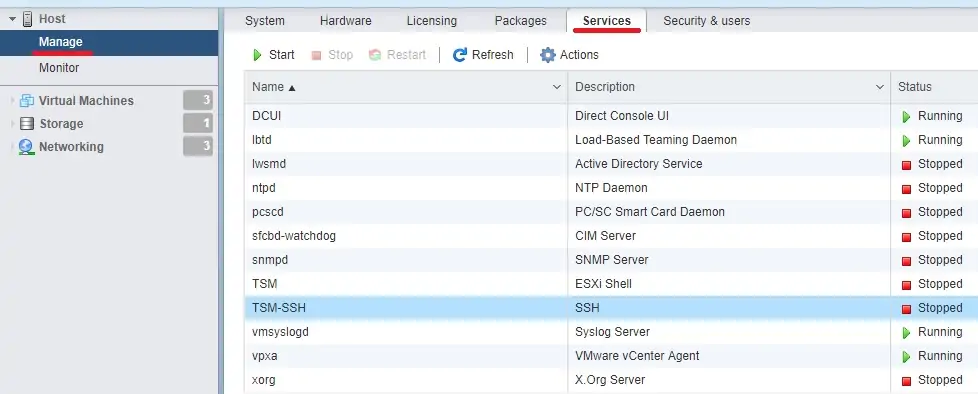
Right click on the SSH service and select the start option.
Use the Putty software and connect on the Vmware ESXi server.
Use the commands presented before to configure SNMPv3 on Vmware ESXI 6.5.
